The Complete Guide to How to Change Image Aspect Ratio Online Without Cropping in 2026
We've all been there. You've captured the perfect photo or designed a stunning graphic, only to realise it's the wrong shape for where you need to use it. Instagram demands a square, your website banner requires a wide landscape, and a document needs a portrait orientation. The immediate panic sets in: if I adjust this, will I lose half the image? Will the quality drop? Will my subject's head get chopped off?
The good news is that you no longer need expensive software or a design degree to fix this. Learning how to change image aspect ratio online without cropping is simpler than ever. It is about transforming your images to fit perfectly into any digital space without sacrificing a single pixel of your subject matter. Whether you are a content creator rushing to meet a deadline, a social media manager scheduling posts, or an e-commerce seller listing products, understanding this process saves time and preserves the integrity of your visuals.
In this comprehensive guide for 2026, I will walk you through the best methods, share the ultimate free tool, and provide expert tips to ensure your images always look professional. We will explore how to use the Change Image Aspect Ratio tool to get the job done in seconds, ensuring your visuals are perfectly optimized for any platform.
Quick Answer: How to Change Aspect Ratio Without Cropping
To change the aspect ratio of an image without cropping, you need to adjust the canvas size and add padding (or "filler") to the edges, rather than cutting off the sides. The easiest way to do this is by using an online tool. Simply upload your image to a tool like Change Image Aspect Ratio, select your target ratio (like 16:9 for YouTube or 1:1 for Instagram), and let the tool automatically add a background colour to fill the new space, preserving your entire original image.

What Does "Change Image Aspect Ratio Without Cropping" Mean?
For beginners, the terminology can be confusing. The aspect ratio is the proportional relationship between the width and height of an image. It is typically written as two numbers separated by a colon, like 16:9 (wide screen) or 4:5 (portrait).
Traditionally, if you wanted to change an image from a landscape orientation (say, 3:2) to a square (1:1), your photo editing software would force you to crop—cutting off the left and right sides. This often ruins the composition.
Learning how to change image aspect ratio online without cropping is a different process. Instead of trimming the image, you are adding space around it. Think of it like placing a photograph onto a larger piece of paper. The photo stays intact, but the paper (the canvas) changes shape. You can fill that extra space with a solid colour, a blur effect, or a gradient. This technique ensures that 100% of your original image remains visible, just with a new frame around it.
Why Image Resizing Matters in 2026
In my experience working with digital media for over a decade, the importance of correctly sized images cannot be overstated. It is not just about aesthetics; it impacts functionality and discoverability.
- Website Performance and SEO: Search engines like Google prioritise fast-loading websites. Large, unoptimized images are the number one killer of page speed. When you resize image without losing quality, you reduce the file size, making your site load faster. This directly improves your Core Web Vitals, a significant Google ranking factor.
- Platform Compliance: Every social media platform has its own specific size requirements. A LinkedIn banner is different from a Facebook post, which is different from a Pinterest pin. Using the wrong size can lead to your images being awkwardly cropped by the platform's algorithm, hiding your logo or key message.
- User Experience (UX): Blurry, stretched, or pixelated images make your brand look unprofessional. Consistent, high-quality images build trust with your audience. By using the right image size guide, you ensure a seamless and enjoyable experience for your visitors, which keeps them on your page longer.
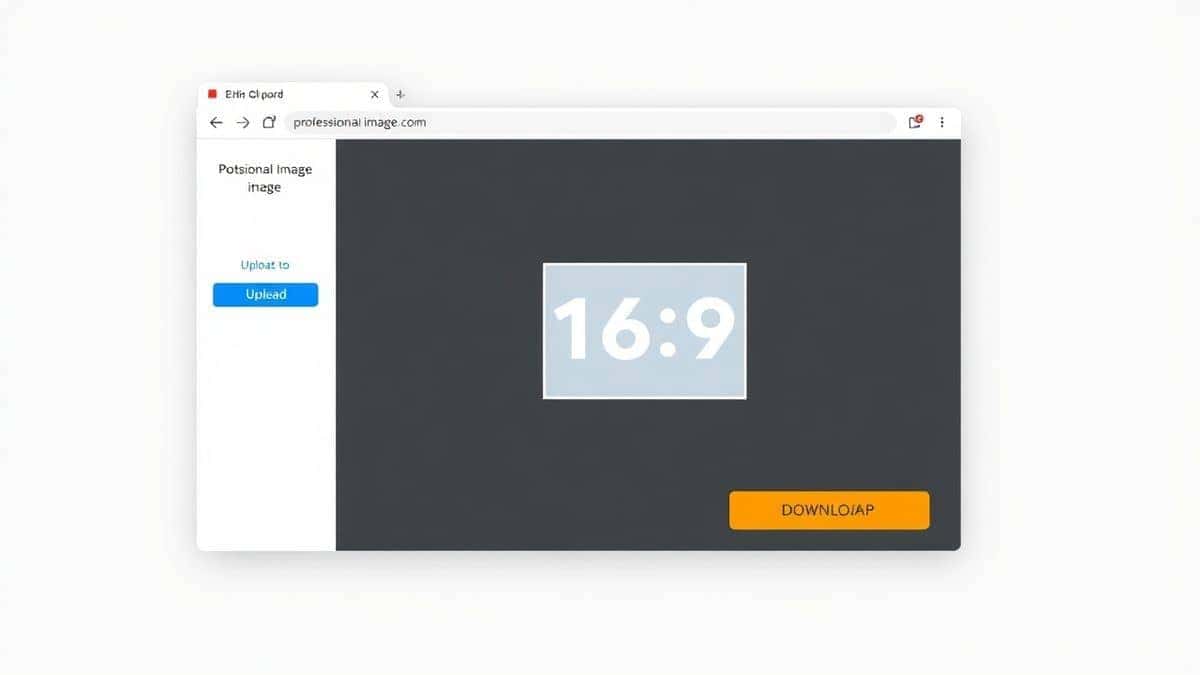
Best Tool: Change Image Aspect Ratio
After testing dozens of image editors and resizers, I have found that simplicity often beats complexity. For users who need a fast, reliable, and free solution, the Change Image Aspect Ratio tool stands out. You don't need to download software or navigate complex menus.
Here is why this is my go-to recommendation:
- Completely Online: It works directly in your browser. Whether you are on a Mac, Windows PC, or even a Chromebook, you can access it instantly.
- Preserves Quality: One of the biggest fears users have is losing clarity. This tool is designed to resize image without losing quality, using smart algorithms to maintain sharpness.
- User-Friendly: The interface is intuitive. You don't need to be a graphic designer to figure it out. You simply upload, choose your dimensions, and download.
- Speed: In a fast-paced work environment, every second counts. This tool processes images almost instantly.
Need to fit an image for Instagram, a banner, or a document? Our free Change Image Aspect Ratio tool is your quick solution. Easily crop and resize photos to exact dimensions for social media, marketing, or professional projects. Ensure perfect visuals everywhere in seconds.
Step-by-Step Guide to Changing Aspect Ratio
From testing different tools and workflows, I've refined this process to be as efficient as possible. Follow these steps to master how to change image aspect ratio online without cropping using the recommended tool.
Step 1: Access the Tool
Open your browser and navigate to the dedicated tool page:
https://resizeon.com/image-tools/change-aspect-ratio
Step 2: Upload Your Image
Click the upload area. You can select a file from your computer, or often, simply drag and drop the image directly into the browser window. The tool supports common formats like JPG and PNG.
Step 3: Select Your Target Aspect Ratio
This is where the magic happens. You will see a menu of preset aspect ratios common for social media and print:
- 1:1 (Square): Perfect for Instagram posts.
- 16:9 (Widescreen): Ideal for YouTube thumbnails, website headers, and presentations.
- 4:5 (Portrait): The recommended ratio for Instagram portrait posts and many mobile ads.
- 9:16 (Story): For Instagram Stories, TikTok, and Reels.
You can also enter a custom size if you have specific requirements.
Step 4: Adjust the Settings
Before you hit the button, look for the "Fit" or "Background" option. To change the ratio without cropping, you must choose "Pad," "Fit," or "Add Background." The tool will then place your image in the centre and fill the extra space. I usually opt for a blurred version of the image as the background filler, as it looks more modern and cohesive than a plain white or black bar. Alternatively, you can select a solid colour that matches your brand.
Step 5: Download Your New Image
Once you are happy with the preview, click the "Download" button. Your new image, perfectly formatted to your desired aspect ratio with your entire original photo intact, will be saved to your device.

Best Practices for Online Image Resizing
A practical tip I always give to clients is that resizing isn't just a technical task; it's a strategic one. To get the best results when you how to change image aspect ratio online without cropping online, keep these best practices in mind.
- Always Maintain the Original Ratio (for the Image Itself): When changing the canvas size, ensure the "Scale" or "Image Size" lock is enabled. This prevents your actual photo from being stretched or squashed. You want to change the frame, not the picture inside it.
- Choose the Right Background Filler: A plain white background is safe and professional for e-commerce product photos. For social media, a blurred version of your image (often called a "blur expansion") creates a trendy, seamless look that draws the eye to the centre.
- Export in the Correct Format: After you resize image without losing quality, save it properly. Use JPEG for photographs and complex images to keep file sizes manageable. Use PNG for graphics with text, logos, or transparent backgrounds to maintain sharp lines.
- Consult an Image Size Guide: Before you start, know your target dimensions. Bookmarking a current social media image size guide saves you from having to redo your work later because you guessed the size wrong.
Common Mistakes to Avoid
Even seasoned designers can slip up occasionally. One mistake many users make is assuming that simply increasing the dimensions will improve a blurry photo. It won't. You cannot add detail that isn't there. Here are other pitfalls to watch out for:
- Stretching the Image: This is the most common error. Dragging the corners of an image without holding the shift key (in design software) or unlocking the aspect ratio distorts the subjects, making them look fat or skinny. Always ensure the aspect ratio of the image content itself is locked.
- Forgetting the Platform's Safe Zone: Even with the correct aspect ratio, remember that some platforms (like Instagram) might overlay buttons or text on the edges of your image. Keep your main subject and text safely in the centre.
- Using Low-Resolution Source Images: If you start with a tiny, 100x100 pixel image and try to make it a 1200x1200 pixel banner, it will look blocky and pixelated. Always start with the highest quality source file you have.
Comparison with Other Tools
While I highly recommend the Change Image Aspect Ratio tool for its speed and simplicity, it is helpful to see how it stacks up against the competition.
- Adobe Photoshop: This is the industry standard, but it has a steep learning curve and requires a monthly subscription. If you need to how to change image aspect ratio online without cropping, opening Photoshop feels like using a sledgehammer to crack a nut. It's powerful, but overkill for a simple task.
- Preview (Mac) / Photos (Windows): These built-in tools are great for basic cropping and rotation, but they lack the ability to add padding or change the canvas size without cutting the image. They are designed for cropping, not for fitting an image into a new frame.
- Other Free Online Tools: The market is flooded with options. However, many are riddled with ads, have confusing interfaces, or apply aggressive compression that ruins your image quality. I tested multiple image resizers and found that many either secretly crop the image or add a watermark. The tool we've discussed provides a clean, watermark-free experience with high-quality output, which is surprisingly rare.
Frequently Asked Questions
1. Can I change the aspect ratio of a JPEG without cropping?
Yes, absolutely. By using the padding or "fit" method, you can add space around a JPEG to achieve a new aspect ratio without cutting out any part of the original photo. Tools like the Change Image Aspect Ratio tool are perfect for this.
2. Will resizing an image make it blurry?
It can, if done incorrectly. If you enlarge an image beyond its original dimensions, it will pixelate. However, if you are simply changing the canvas shape without enlarging the photo itself, the quality remains the same. The key is to resize image without losing quality by using smart tools that don't over-process the file.
3. What is the difference between resizing and cropping?
Cropping involves cutting away parts of your image to change its shape or composition. Resizing (or changing the aspect ratio without cropping) involves changing the overall dimensions of the canvas, often by adding space around the image to fit a new ratio.
4. What is the best aspect ratio for Instagram?
In my experience, there isn't one single "best" ratio. For feed posts, the most common are 1:1 (1080x1080px) for squares and 4:5 (1080x1350px) for portrait shots, as they take up more vertical space in the feed. For Stories and Reels, you must use 9:16 (1080x1920px) .
5. How do I change the aspect ratio for a YouTube thumbnail?
YouTube thumbnails display best at a 16:9 ratio, with a resolution of 1280x720 pixels. Use the tool to upload your image, select the 16:9 preset, and choose a background filler to ensure your entire design fits without being cropped.
6. What file format should I download after resizing?
For most purposes, JPG is best for photos. If your image contains text, a logo, or requires a transparent background (which would be used if your filler is transparent), choose PNG.
7. Is it safe to upload my images to online tools?
It depends on the tool. Always use a reputable service. The Change Image Aspect Ratio tool is designed with user privacy in mind, typically processing images temporarily and deleting them from servers shortly after your download is complete.
Conclusion
Mastering how to change image aspect ratio online without cropping is an essential skill in our visually-driven digital world. It empowers you to repurpose a single image for any platform—from a wide website banner to a vertical story—without losing the creative intent or compromising on quality. You no longer have to settle for awkward crops that cut out important details.
By using the right approach and the best free tools available, you can ensure your visuals are always on-brand, perfectly sized, and professionally presented. Whether you are preparing a product photo for your online store or creating content for your social media followers, taking the time to correctly format your images will pay off in higher engagement and a more polished online presence.
Ready to transform your images instantly? Visit the Change Image Aspect Ratio tool today and see how simple it is to get the perfect dimensions for any project.