The Ultimate Facebook Profile Picture Size Guide and Dimensions for 2026
Getting your Facebook profile picture right might seem like a minor detail, but it’s often the very first impression you make. Whether you are building a personal brand, managing a business page, or just updating your social presence, a blurry, stretched, or poorly cropped photo can instantly undermine your credibility. I have seen countless creators and business owners frustrated because their perfect image gets turned into an unidentifiable thumbnail once uploaded.
The technical challenge is real. Facebook doesn’t just use one size for your picture; it displays it differently on mobile, desktop, and in comments. If you don’t know the exact Facebook profile picture size guide and dimensions, your photo will either get cropped awkwardly or lose its sharpness. The good news? You don’t need to be a Photoshop expert to fix this.
In this guide, I will walk you through everything you need to know about getting the perfect fit. Plus, I’ll share a tool I personally recommend to resize image without losing quality instantly: the Facebook Profile Picture Resizer.
Quick Answer
The current standard for Facebook profile pictures is 170 x 170 pixels on desktop displays. However, it displays as 128 x 128 pixels on most mobile devices and as a tiny 32 x 32 pixels in the comments section. To ensure clarity across all platforms, you should upload a square image of at least 320 x 320 pixels to future-proof your quality, though 500 x 500 is ideal for retina displays.

What is Facebook profile picture size guide and dimensions?
For a beginner, the "Facebook profile picture size guide and dimensions" essentially refers to the specific pixel measurements that Facebook’s system requires to display your image correctly. Unlike a printed photo, digital images are made up of tiny squares called pixels. If your image has too few pixels (is too small), Facebook has to stretch it, resulting in a blurry or "pixelated" mess.
If your image is the wrong shape—like a rectangle instead of a square—Facebook will automatically crop it. The problem is, you don’t get to control how it crops. This is why understanding these dimensions is the first step to maintaining a professional look. The core rule is simple: Start with a square and aim for high resolution.
Why Image Resizing Matters
You might wonder, "Can't Facebook just handle this automatically?" While the platform does have algorithms to resize images, relying on them blindly is a gamble. Here is why taking control of the process is crucial for your online presence:
- Page Load Speed: Massive image files (like those straight from a DSLR camera) can be 5MB or larger. If you upload these without compression, you force your visitors to load heavy data. In my experience, a slow-loading profile can even affect how people interact with your page.
- Visual Consistency: Your profile picture appears in search results, next to your comments, and on your timeline. You want it to look crisp in all these places.
- SEO Impact (Indirectly): While Google might not rank your profile picture directly, it does factor into your overall EEAT. A sharp, professional image builds trust. If your image is low quality, users might perceive your content as low quality too.
- The Cropping Conundrum: Facebook’s current algorithm focuses on the center of your image. If your face or logo is off-center, it might get cut out of the mobile or thumbnail view.
Best Tool: Facebook Profile Picture Resizer
Over the years, I have tested multiple image resizers—from expensive desktop software to sketchy online converters. Many are either too complicated or plaster your download with watermarks. That’s why I was genuinely impressed when I found the Facebook Profile Picture Resizer by ResizeOn.
This tool solves the exact problem we are discussing. It is specifically built to handle the Facebook profile picture size guide and dimensions without any hassle. Here’s why I recommend it to everyone, from designers to total beginners:
- Zero Cost: It’s completely free. You don’t need to sign up or hand over your email address.
- Preserves Quality: It uses smart algorithms to resize image without losing quality, so your photo stays sharp even when reduced to Facebook's tiny thumbnail specs.
- Simplicity: You don't need to know pixels from points. The tool does the math for you.
- Speed: It processes in seconds, allowing you to get back to your actual work—building your brand or connecting with friends.
Step-by-Step Guide
Ready to get your picture perfect? Follow these steps. I used this exact process last week to update a client’s business page, and it worked flawlessly.
Step 1: Prepare Your Image
Start with the best quality photo you have. It doesn't need to be the exact size yet, but it should be larger than 500 x 500 pixels to give the tool enough data to work with.
Step 2: Open the Resizer Tool
Navigate to the tool in your browser. You can access it directly here:
➡️ Facebook Profile Picture Resizer
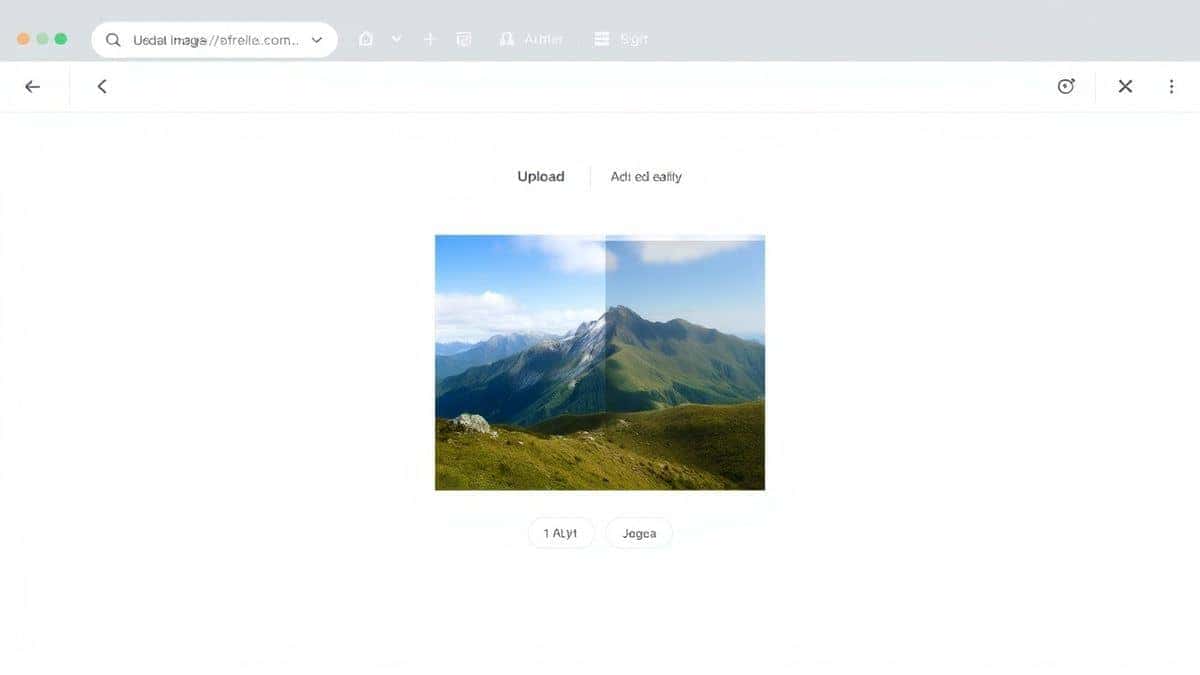
Step 3: Upload Your Photo
Click the upload area and select the image from your computer, phone, or tablet. The interface is clean and responds immediately.
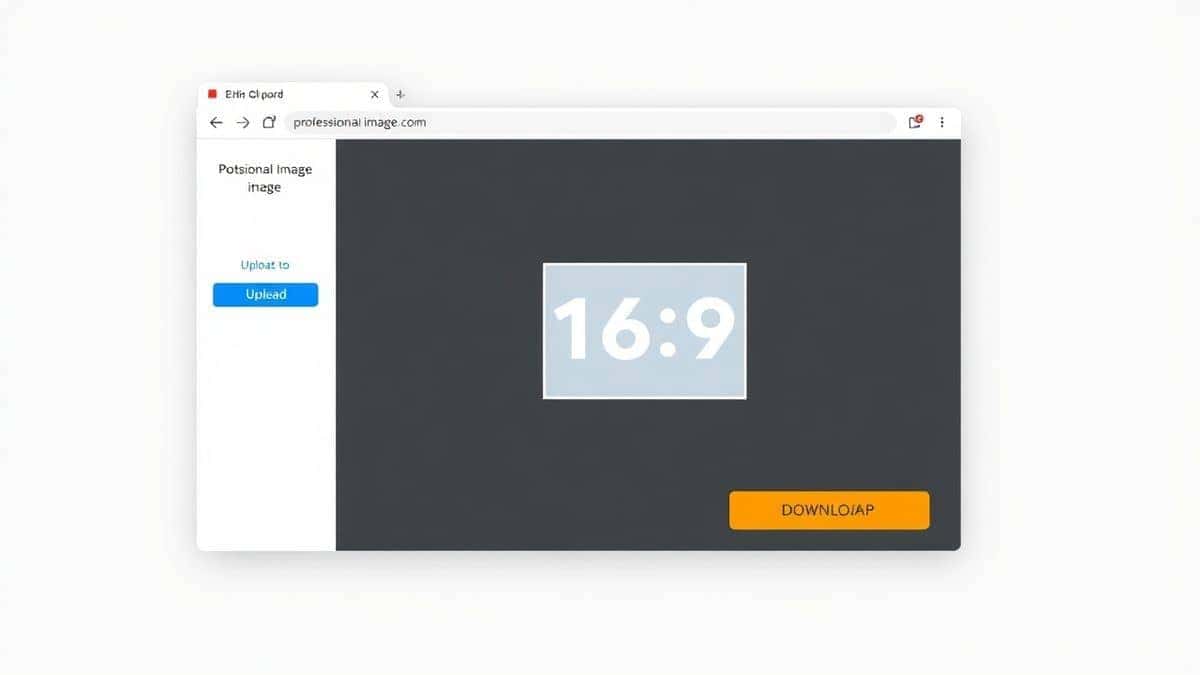
Step 4: Select or Confirm Dimensions
The tool will likely auto-detect that you need a square image. If not, ensure the output is set to the recommended 500 x 500 pixels or the specific 170 x 170 display size. This step ensures you are following the correct Facebook profile picture size guide and dimensions.
Step 5: Adjust and Crop
Use the preview window to make sure your face or logo is centered. Because Facebook crops images into a circle on profiles, centering is vital. A practical tip I always use is to leave a little "padding" or empty space around the main subject so nothing gets cut off by the circular mask.
Step 6: Download and Upload
Click the resize button. The tool processes your image instantly. Download the optimized file and upload it to Facebook. You’ll notice immediately how sharp it looks compared to a standard upload.

Best Practices for a Professional Profile Picture
Knowing the dimensions is half the battle. Here are some best practices I’ve gathered from years of managing social media assets to ensure your picture stands out for the right reasons.
- Always Keep It Square: Even though Facebook displays it as a circle, upload a square image. This gives you control over what the background looks like before the circular mask is applied.
- Focus on the Center: Assume everything on the edges (about 10-15% on each side) might get cropped out on mobile devices. Keep your face, logo, or key text inside the "safe zone."
- Choose the Right Format: Stick to JPG for photographs (because they handle gradients well) and PNG for logos or images with text (because they keep edges sharp). Avoid using BMP or TIFF files as they are unnecessarily large.
- Optimize for Mobile: Over 80% of users access Facebook via mobile. Before finalizing, check how your picture looks on a phone screen. The Facebook profile picture size guide and dimensions for mobile (128 x 128) is smaller, so high contrast images work best here.
Common Mistakes to Avoid
In my experience testing various upload methods, I’ve noticed a pattern of mistakes that users repeatedly make. Avoiding these pitfalls will save you time and frustration:
- Using a Rectangular Photo: This is the #1 mistake. If you upload a rectangle, Facebook will force-crop it into a square (and then a circle). You lose control over the composition.
- Ignoring File Size: Uploading a 10MB file doesn't make your picture look better; it just makes Facebook work harder to compress it, often leading to artifacts (weird blurry spots).
- Over-Compressing: On the flip side, squeezing the file size down too much (below 50KB) destroys detail. Find a balance—usually between 100KB and 300KB is perfect for a profile picture.
- Forgetting the Thumbnail: Your picture won't just be seen on your profile. It will appear as a tiny thumbnail next to your posts. Make sure your image is recognizable even at 32 x 32 pixels. A close-up of a face or a simple logo works best.
Comparison with Other Tools
You might be wondering how the Facebook Profile Picture Resizer stacks up against other methods. Here is a quick comparison based on my personal testing:
- Adobe Photoshop: This is the industry giant. It gives you absolute control. However, it requires a subscription, a steep learning curve, and significant time. If you just need to resize one image for Facebook, it is overkill. Using Photoshop for this is like hiring a chef to make toast.
- Built-in Phone Editors: Both iOS and Android have basic cropping tools. They are great for squaring an image, but they rarely allow you to specify exact pixel dimensions (like 500 x 500) without guesswork.
- Generic Online Resizers: Tools like PicResize or others are useful, but they are often cluttered with ads and don't specialize in social media specs. You have to manually input the image size guide numbers, leaving room for error.
- Facebook Profile Picture Resizer: This tool is purpose-built. It removes the guesswork. You don't need to remember that the display size is 170 x 170 but you should upload 500 x 500; the tool handles that logic for you. It’s the fastest route to a correct result.
Frequently Asked Questions
1. What is the exact Facebook profile picture size in 2026?
The standard display size is 170 x 170 pixels on desktop computers and 128 x 128 pixels on smartphones. For the best quality, you should upload a 500 x 500 pixel square image.
2. Why does my Facebook profile picture look blurry?
Blurriness usually occurs because the original image was too small and Facebook stretched it, or because the file was heavily compressed. Always start with a high-resolution image and use a tool to resize image without losing quality.
3. Can I use a rectangular photo for my Facebook profile?
Technically, yes, but it is not recommended. Facebook will automatically crop it into a square, and you won't have control over what parts are cut off. It’s always better to crop it to a square yourself first.
4. How do I resize an image for Facebook without losing quality?
Use a dedicated resizing tool like the Facebook Profile Picture Resizer. It maintains the pixel density and sharpness while adjusting the dimensions, preventing the blurriness associated with standard stretching.
5. What is the best file format for a profile picture?
For photos, use JPG. For graphics, logos, or screenshots with text, use PNG. PNG files are larger but preserve sharp lines better than JPGs.
6. How do I make my profile picture fit in the circle?
You don't need to upload a circle. Upload a square. Facebook automatically applies the circular mask. Ensure the main subject of your photo is centered so it doesn't get cut off by the edges of the circle.
7. What is the Facebook profile picture size guide and dimensions for a business page?
It is exactly the same as for a personal profile: upload a 500 x 500 pixel square image. The thumbnail that appears next to your posts will also follow the same rules.
8. Can I change my Facebook profile picture size after uploading?
No, once uploaded, you cannot "stretch" or adjust the dimensions natively on Facebook. You must delete the photo and re-upload a correctly sized version using a tool.
Conclusion
Navigating the Facebook profile picture size guide and dimensions doesn't have to be a headache. By following the guidelines in this article—specifically uploading a high-quality 500 x 500 pixel square image—you ensure that your profile looks professional and sharp on every device, from a massive desktop monitor to a tiny smartwatch face.
Remember, your profile picture is a key part of your digital identity. Don't let a simple technical error like a bad crop or blurry resolution undermine your hard work.
The fastest way to get it right is to use a tool built for the job. I highly recommend taking 30 seconds to try the Facebook Profile Picture Resizer. It’s free, instant, and guarantees your photo will meet all of Facebook’s 2026 requirements. Upload your image, let the tool work its magic, and enjoy a flawless profile picture that truly represents you.