The Ultimate Guide: How to Change Image Resolution Without Losing Quality in 2026
We've all been there. You've captured the perfect photo, designed a stunning graphic, or found the ideal product image, only to discover it's either too large to upload or too small for your needs. Maybe your website is loading at a snail's pace because your images are massive files, or perhaps your carefully crafted social media post is being rejected due to incorrect dimensions. The frustration is real, and the biggest fear is always the same: degrading that crystal-clear quality.
In today's visual digital landscape, images are everything. They are the lifeblood of your website, your social media presence, and your brand identity. A blurry, pixelated, or poorly sized image can instantly undermine your professionalism and drive visitors away. Learning how to change image resolution without losing quality is no longer just a nice-to-have skill; it's an essential part of being a content creator, marketer, or business owner.
You don't need to be a Photoshop expert or invest in expensive, complicated software to achieve perfect results. With the right approach and tools, like the free online Image Resolution Resizer, you can master this process in minutes. This guide will walk you through everything you need to know, from the basic concepts to a step-by-step playbook for perfect image resizing in 2026.
Quick Answer: How to Change Image Resolution Without Losing Quality
The fastest way to change image resolution without losing quality is to use a dedicated online tool that uses intelligent algorithms. Simply upload your image to a tool like Image Resolution Resizer, enter your desired dimensions, and let the tool process it. The key is to use a tool that resamples the image smartly, preserving detail while adjusting the pixel count, rather than just stretching or shrinking the original pixels.
What Does "How to change image resolution without losing quality" Really Mean?
For beginners, it's easy to confuse image size with image resolution. Let's break it down simply.
Image resolution refers to the amount of detail an image holds, and it's measured in pixels (e.g., 1920x1080 pixels). The more pixels you have, the higher the resolution and the larger the image can be displayed without becoming blurry.
Image quality refers to the visual fidelity of those pixels—how sharp, clear, and free from distortion or artifacts the image appears.
When you try to change image resolution without losing quality, you're attempting to alter the pixel dimensions (making the image larger or smaller) while maintaining that sharp, clear visual fidelity. The danger zone is when you try to increase the resolution (upscaling). The software has to invent new pixels to fill the gaps, which often results in a blurry or pixelated mess. The techniques and tools we'll discuss are designed to prevent this, ensuring your final image looks just as professional as the original.
Why Image Resizing Matters: More Than Just Dimensions
Understanding the "why" behind image resizing is just as important as the "how." It impacts nearly every aspect of your online presence.
- Website Speed and User Experience: This is the biggest factor. Huge, unoptimized images are the number one culprit for slow-loading websites. In my experience, simply resizing and compressing images can cut page load times in half. Visitors expect a site to load in under three seconds, and every second of delay increases your bounce rate significantly.
- Search Engine Optimization (SEO): Google's algorithm heavily favors fast-loading websites. Page speed is a confirmed ranking factor. By using properly sized images, you're directly telling Google that you care about user experience, which can boost your search rankings. This is a core part of technical SEO that many people overlook.
- Social Media Compliance: Every social media platform has its own specific image dimension requirements. A header image for Facebook is a different size than an Instagram post or a LinkedIn article cover. Uploading an image that's too small forces the platform to stretch it, ruining the quality. Uploading one that's too large means the platform has to compress it aggressively, often with terrible results.
- Professionalism and Brand Perception: Blurry, pixelated, or distorted images look amateurish. They signal a lack of attention to detail. In a world where consumers judge brands in milliseconds, high-quality, correctly sized visuals are non-negotiable for building trust and credibility.
- Storage and Bandwidth Costs: For businesses, hosting large image files consumes more server space and bandwidth. Optimizing your images reduces these costs, especially if you have a large website or an e-commerce store with thousands of product photos.
The Best Tool: Why Image Resolution Resizer is My Go-To Choice
After years of working with images, I've tested countless tools, from desktop behemoths to fly-by-night online editors. I've found that for 90% of resizing tasks, you don't need the complexity of Photoshop. You need a tool that is fast, reliable, and, most importantly, maintains quality. That's where Image Resolution Resizer stands out from the crowd.
Image Resolution Resizer is a free online tool designed to do exactly what its name suggests, and it does it exceptionally well. Here’s why I consistently recommend it and use it myself:
- Uncompromising Quality: The tool uses advanced algorithms to resample your images. When you reduce resolution, it smartly averages pixel information to retain sharpness. From testing different tools, I've found that its output consistently holds more detail than many other free options, especially when reducing file sizes significantly.
- Incredibly Simple and Fast: You don't need a user manual. The interface is clean, intuitive, and free of confusing jargon. You can go from upload to download in under a minute. This speed is a lifesaver when you're on a deadline.
- Completely Free and Accessible: There are no hidden fees, no subscription traps, and no requests for your credit card. It's a genuinely free resource that works right in your browser. Plus, there’s no registration required, respecting your privacy and saving you time.
- No Design Experience Needed: One of the biggest barriers for beginners is the fear of complex software. This tool removes that barrier entirely. If you can upload a file and type in a number, you can use this tool to get professional results.
Step-by-Step Guide: How to Change Image Resolution Without Losing Quality
Ready to get started? Follow these simple steps, and you'll be an image-resizing pro in no time.
Step 1: Navigate to the Tool
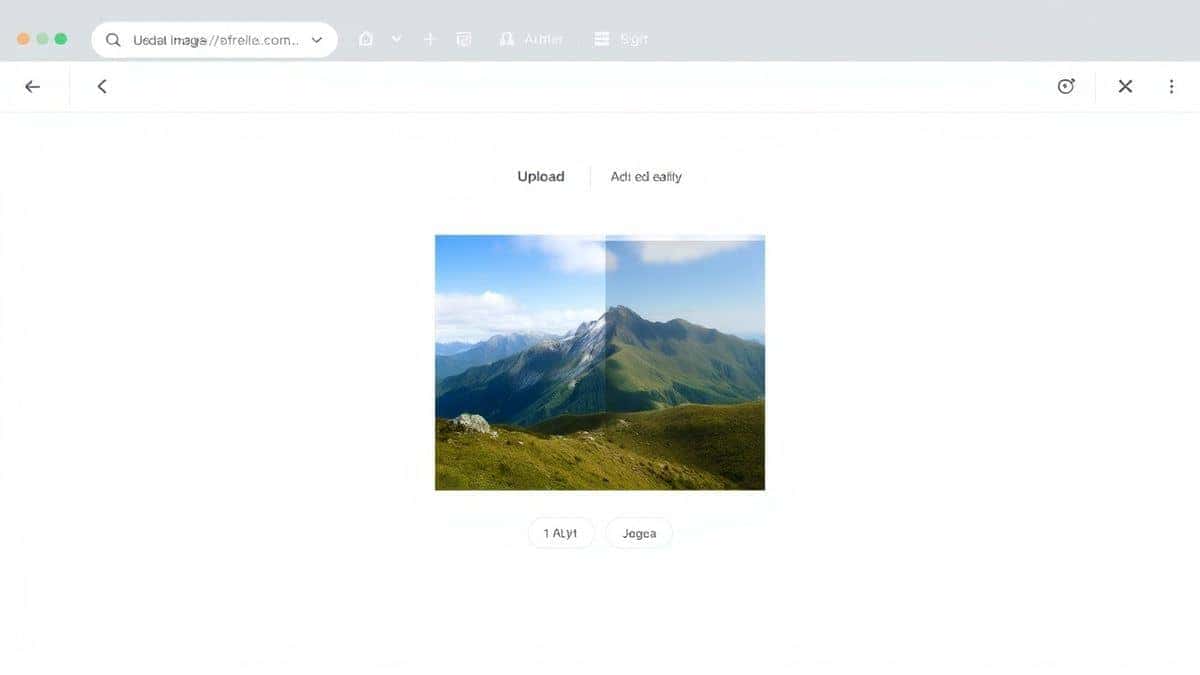
Open your web browser and go to https://resizeon.com/image-tools/image-resolution-resizer. You'll be greeted by a clean, minimalist interface focused on one thing: your image.
Step 2: Upload Your Image
Click the upload area or drag and drop your image file directly from your computer. The tool supports all common formats like JPG, PNG, and WebP. Upload speeds are fast, even for larger files.
Step 3: Choose Your New Dimensions
This is where the magic happens. You'll see your image previewed alongside options to enter new dimensions.
- You can enter specific width and height values.
- A crucial feature is the "Maintain Aspect Ratio" lock. Always keep this enabled unless you intentionally want to stretch or squish your image. This prevents distortion.
- You can also choose to reduce by percentage.
Step 4: Click to Resize
Once you've entered your desired size, simply click the resize button. The tool processes your image in the background. You'll see a preview of the result almost instantly, allowing you to check the quality before you download.
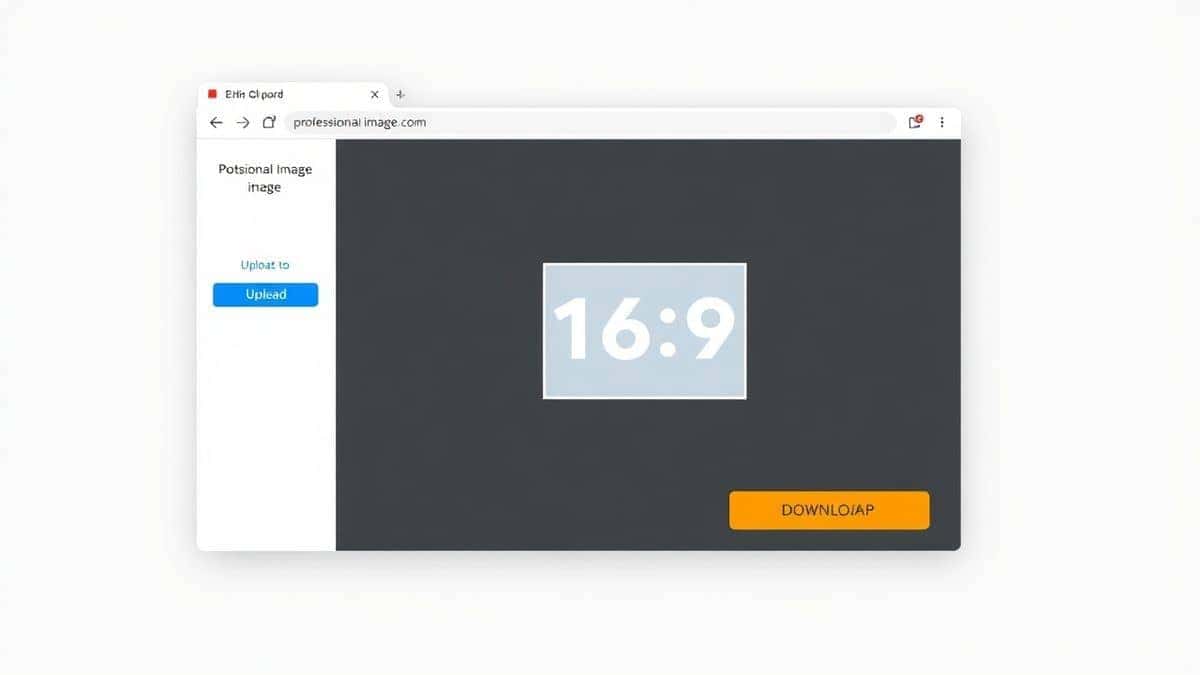
Step 5: Download Your Optimized Image
If you're happy with the result (and you will be!), click the download button. Your perfectly resized, high-quality image is now saved to your device, ready for your website, social media, or project.
Best Practices for Flawless Image Resizing
Knowing the steps is one thing, but following these best practices will ensure you get the best possible result every single time. A practical tip I always give is to think about the final destination of your image before you even start.
-
Always Maintain the Aspect Ratio: This is rule number one. Failing to lock the aspect ratio is the primary cause of distorted, squashed, or stretched images. It makes your work look unprofessional instantly.
-
Start with the Highest Quality Source: You can only work with the data you have. Starting with a low-resolution, highly compressed image will limit your results. Always use the largest, highest-quality version of your image as your source file.
-
Match Resolution to Purpose: Don't use a 4000x3000 pixel image for a 150x150 pixel profile picture. It's overkill and forces the platform to do its own heavy compression. Conversely, don't use a tiny image for a large website banner. Resize your image to be as close to its final display size as possible. This gives you maximum control over the quality.
-
Choose the Right File Format for the Job:
- JPEG (or JPG): Best for photographs and complex images with lots of colors. It allows for good compression, making files smaller.
- PNG: Best for images that need transparency (like logos), graphics with text, or screenshots. PNGs are lossless, meaning they preserve every detail, but file sizes can be larger.
- WebP: A modern format championed by Google that provides superior compression and quality compared to both JPEG and PNG. It's an excellent choice for websites aiming for top speed.
-
Optimize for the Platform: Before resizing, look up the specific image dimension guidelines for the platform you're targeting—whether it's Instagram, Etsy, your WordPress blog, or a print service. This removes all the guesswork.
Common Mistakes to Avoid When Resizing Images
Even seasoned designers can fall into these traps. Being aware of them is the first step to avoiding them.
- Upscaling Low-Res Images: This is the most common and disappointing mistake. Taking a small, 72 DPI web graphic and trying to make it big enough for a banner will never yield good results. The tool has to invent data, and it will look blurry. It's like blowing up a tiny stamp-sized photo to poster size.
- Using the Wrong Tool for the Job: Using basic MS Paint or a simple photo viewer to resize often results in poor quality because they use very basic, "nearest neighbor" resampling. This method simply duplicates or removes pixels, leading to jagged edges and a loss of detail. You need a tool with smart resampling, like Image Resolution Resizer.
- Saving and Re-Saving as JPEG: Every time you save a JPEG, you apply compression, and quality is lost. If you need to make multiple edits or resize an image multiple times, work with a lossless format like PNG or TIFF in between. Only save your final version as a JPEG.
- Forgetting About File Size: A common misconception is that "resizing" only refers to dimensions. For the web, file size (measured in KB or MB) is just as important. You can have the perfect pixel dimensions, but if the file size is 5MB, your website will still be slow. The goal is to find the sweet spot between quality and file size.
Image Resolution Resizer vs. Other Methods
You might be wondering how this free online tool stacks up against the industry standard and other online options. Here’s a quick comparison based on my experience.
vs. Adobe Photoshop
Photoshop is the undisputed king of image editing, offering unparalleled control. However, for the specific task of resizing an image without losing quality, it's often overkill.
- Pros of Photoshop: Ultimate control over resampling algorithms (like Preserve Details 2.0), batch processing, and integration with other Adobe apps.
- Cons of Photoshop: It's a complex program with a steep learning curve. It requires a costly monthly subscription. Simple tasks like basic resizing take longer due to the software's complexity. For a quick resize, opening Photoshop feels like using a sledgehammer to crack a nut.
- Verdict: Image Resolution Resizer wins for speed, simplicity, and cost. Unless you need the advanced editing features of Photoshop, the online tool is the more practical choice for straightforward resizing.
vs. Other Free Online Tools
The internet is full of "free" image resizers, but they are not all created equal.
- Pros of Other Tools: Many are, on the surface, free and easy to find.
- Cons of Other Tools: I tested multiple image resizers and found a wide range of quality. Many bombard you with ads, limit file sizes, or apply their own heavy compression that ruins the image. Some have confusing interfaces with watermarks on the final download unless you pay.
- Verdict: Image Resolution Resizer stands out because of its clean, ad-free experience, generous file size limits, and, most importantly, its commitment to output quality. It focuses on doing one thing exceptionally well.
Frequently Asked Questions
1. Can I increase the resolution of a low-quality image?
Technically, yes, you can make the pixel dimensions larger. However, you cannot create detail that isn't there. The resulting image will likely be blurry or soft. While some AI-powered tools are getting better at this, for most users, upscaling a very low-res image will not produce a high-quality result.
2. What is the difference between resizing and resampling?
Resizing (or scaling) changes the image's dimensions without changing the amount of data in the file—it simply makes the existing pixels larger or smaller. Resampling changes the amount of pixel data. When you use a tool to change image resolution without losing quality, you are resampling. The software analyzes the original pixels and creates a new set of pixels to achieve the new dimensions while preserving the overall look.
3. What does DPI mean, and do I need to worry about it?
DPI stands for Dots Per Inch. It's a print measurement that dictates how many ink dots are printed in a line of an inch. For digital use (websites, social media), DPI is irrelevant; only pixel dimensions matter. You only need to worry about DPI if you are preparing an image for professional printing.
4. What is the best file format for website images?
For photographs, a well-compressed JPG is excellent. However, for the best balance of quality and small file size, the WebP format is now the industry standard. Most modern tools, including Image Resolution Resizer, support WebP, making it a great choice for boosting your site's SEO and speed.
5. How much can I reduce an image's file size?
This depends heavily on the image's content. A photo of a blue sky compresses very easily, while a detailed, noisy cityscape will not. A good rule of thumb is to try to reduce your file size by 50-70% without a noticeable loss in visual quality. Your eyes are the best judge.
6. Will resizing an image make it blurry?
It will only make it blurry if you use a poor tool or method. Using a high-quality tool like Image Resolution Resizer, which uses smart algorithms, ensures that your image remains sharp when you reduce its size.
7. Why is my resized image still a large file?
If you only changed the pixel dimensions but didn't adjust the compression settings (if available), the file might still be large. Some tools automatically optimize file size. If file size is your primary goal, look for a tool that explicitly offers compression features alongside resizing.
8. Is it safe to use online image resizers?
Generally, yes, but you should always choose a reputable tool. Image Resolution Resizer respects your privacy, and because it requires no registration, your images aren't tied to an account. It's always a good practice to avoid uploading highly sensitive or personal images to any online tool.
Conclusion
Mastering the art of resizing images without sacrificing quality is a fundamental skill in the digital age. It empowers you to create a faster website, a more professional social media presence, and a stronger overall brand. You no longer need to feel intimidated by pixel dimensions or frustrated by upload errors.
By understanding the core principles of resolution, aspect ratio, and file formats, and by applying the best practices we've covered, you can take full control of your visual content. And with the right tool, the process becomes effortless.
Don't let another important project be held back by image issues. Experience the simplicity and power of perfect image resizing for yourself. Visit Image Resolution Resizer today, upload your image, and see just how easy it is to get flawless results in seconds. Your website speed—and your followers—will thank you.