The Ultimate Guide: How to Resize JPG Images Online Without Losing Quality in 2026
We've all been there. You're trying to upload a profile picture, attach a photo to an email, or add an image to your website, only to be met with that frustrating error message: "File size too large." Or worse, you resize the image, and it comes out looking pixelated, blurry, or unprofessional. In today's fast-paced digital world, images are non-negotiable—but poorly optimized images can kill your website's speed, ruin your social media presence, and frustrate your audience.
The good news? You don't need to be a graphic designer or invest in expensive software to fix this. Learning how to resize JPG images online without losing quality is simpler than you think. Whether you're a content creator, an e-commerce seller, or just someone who wants to share photos faster, getting the balance between file size and visual clarity is essential.
In this guide, I'll walk you through everything you need to know about resizing, the best tool for the job, and how to keep your images crisp. From my years of testing various methods, I can tell you that a tool like JPG/JPEG Resizer is a game-changer for quick, high-quality results without the hassle.
Quick Answer
How to resize JPG images online without losing quality means using a smart online tool that adjusts the pixel dimensions of your image while maintaining its visual integrity, often through intelligent compression algorithms. You simply upload your JPG, select your desired size, and download a perfectly optimized version in seconds.
What is How to resize JPG images online without losing quality?
If you're new to this, let's break it down. When we talk about resizing an image, we're usually referring to two things: changing the dimensions (width and height) and reducing the file size (measured in KB or MB). The tricky part is that these two actions often affect each other.
When you resize an image manually without the right approach, you "throw away" pixel data. This can lead to a loss of detail, resulting in a blurry or jagged image. To truly understand how to resize JPG images online without losing quality, you need a tool that uses smart algorithms to resample the image. This process recalculates the pixel information to preserve sharpness and color accuracy, even when the image is made smaller. It’s not just about making the image smaller; it’s about making it efficiently smaller.
Why Image Resizing Matters
You might wonder, "Why can't I just upload the original photo straight from my camera?" The answer lies in performance and practicality. Here’s why resizing is a critical skill:
- Website Speed: Large, unoptimized images are the number one enemy of page load speed. Google's Core Web Vitals prioritize fast-loading sites, and if your images are bloated, your SEO ranking will suffer.
- SEO Impact: Search engines love fast websites. By resizing your images, you improve user experience, which lowers bounce rates and signals to Google that your site is high-quality.
- Storage Space: Whether it's on your phone, your computer, or your cloud storage, large images eat up space. Resizing helps you save gigabytes of storage over time.
- Social Media Requirements: Every platform has specific size guides. Instagram prefers square posts, LinkedIn has header dimensions, and X (formerly Twitter) compresses images aggressively. Uploading a correctly sized image ensures it displays exactly as you intended.
- Email Attachments: Many email servers have strict limits on attachment sizes. Resizing ensures your photos actually reach the recipient without bouncing back.
In my experience, ignoring image optimization is one of the biggest oversights I see in small business websites. It’s an easy fix that provides instant results.

Best Tool: JPG/JPEG Resizer
After testing dozens of platforms, I keep coming back to one tool that perfectly balances simplicity with power. When I need to resize image without losing quality, I trust JPG/JPEG Resizer.
It’s a free online tool designed specifically for this task. What sets it apart is its ability to handle bulk processing while maintaining the sharpness of your original photo. You don’t need any design experience to use it. It’s secure, fast, and works directly in your browser without uploading to a complicated server queue.
Key Benefits:
- 100% Online: No software downloads or installations required.
- User-Friendly: The interface is intuitive, making it perfect for beginners.
- Fast Processing: It handles resizing in seconds, even for larger files.
- Quality Retention: It uses advanced algorithms to ensure your image remains clear.
- Privacy-Focused: Your images are processed securely, giving you peace of mind.
Step-by-Step Guide: How to Resize JPG Images Online Without Losing Quality
Ready to get started? Follow this simple guide to resize your images perfectly every time. I've used this process hundreds of times, and it never fails.
- Open the Tool: Navigate to the dedicated resizer at https://resizeon.com/image-tools/jpg-jpeg-resizer. The homepage is clean and focused, making it easy to find what you need.
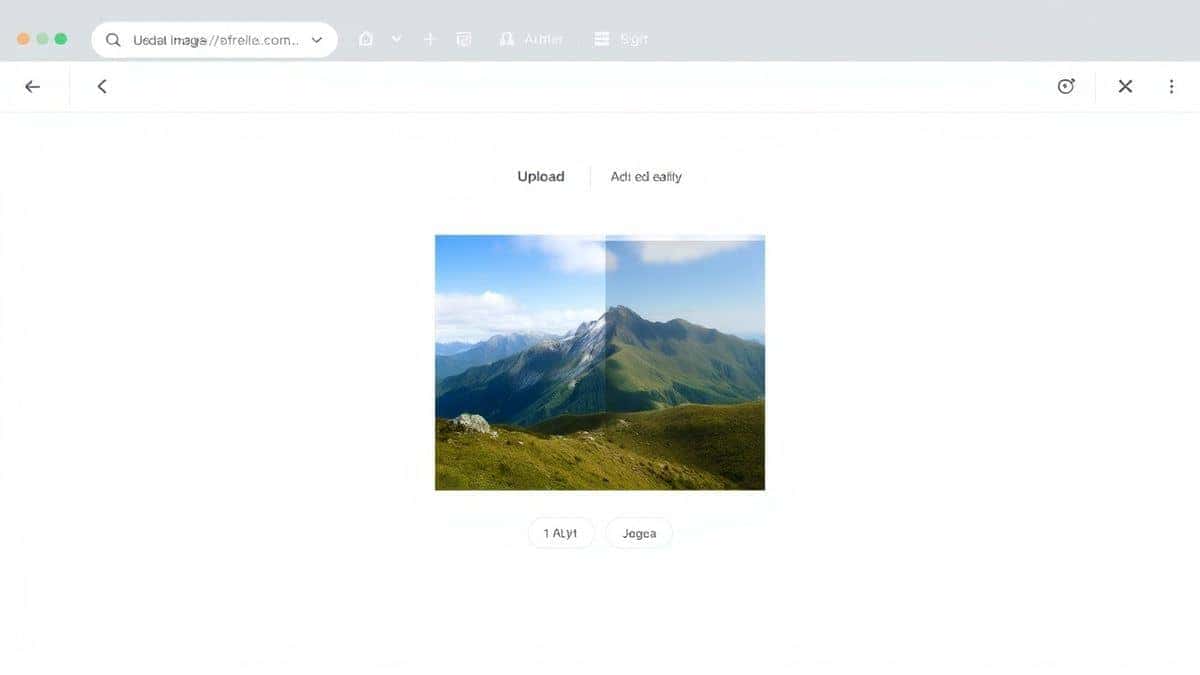
- Upload Your Image: Click the upload button or simply drag and drop your JPG file directly into the designated area. From testing different tools, I've found that drag-and-drop functionality saves a ton of time when you're working with multiple images.
- Select Your Dimensions: You'll be prompted to enter your new dimensions. You can choose specific pixel values for width and height. A practical tip here is to always check the "maintain aspect ratio" box to avoid stretching your image.
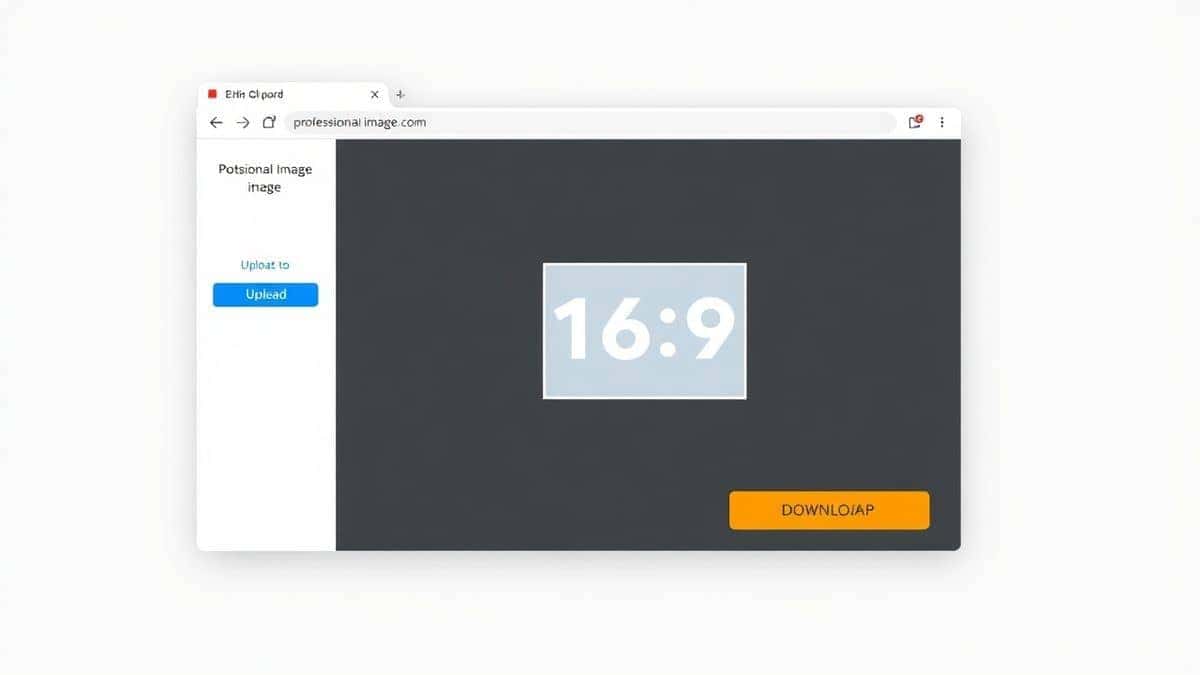
- Click to Resize: Hit the resize button. The tool processes your image instantly. One mistake many users make is closing the tab too early—wait for the confirmation that processing is complete.
- Download Your Image: Once finished, a download link will appear. Save your newly optimized JPG to your device. You'll immediately notice the file size difference without a visible drop in quality.

Best Practices for Resizing JPG Images
To truly master how to resize JPG images online without losing quality, you need to follow some industry best practices. These aren't just random tips; they are the standards I apply to all my own content.
- Always Maintain the Aspect Ratio: This is rule number one. Lock the width and height ratio so your image doesn't look squashed or stretched. Most good tools, including JPG/JPEG Resizer, do this automatically.
- Start with the Highest Quality Source: You can't polish a turd, as they say. Always resize from the largest, highest quality original you have. Resizing a small, low-res image to a larger size will always result in pixelation.
- Choose the Right Format: JPG is perfect for photographs and complex images with lots of colors. For graphics with text or logos, consider PNG. Since we're focusing on JPGs here, you're on the right track for photos.
- Optimize for the Platform: Consult an image size guide for the specific platform you're targeting. LinkedIn cover photos are 1584 x 396 pixels, while an Instagram post looks best at 1080 x 1080 pixels. Using the correct dimensions prevents the platform from doing a second, often lower-quality, compression.
- Preview Before Downloading: Before you finalize, take a close look at the preview. Zoom in to check the edges for any signs of blurring or artifacts.
Common Mistakes to Avoid
Even experienced designers slip up sometimes. Here are the most common pitfalls I've observed when people try to resize image without losing quality.
- Stretching the Image: Manually typing in a width and height that doesn't match the original ratio is the fastest way to ruin a photo.
- Oversharpening: Some tools allow you to sharpen the image during resizing. While this can help, too much sharpening creates a harsh, unnatural look.
- Using Screenshots as Source Files: Screenshots are low-resolution by nature. Using them as a base for resizing will only magnify the pixelation.
- Ignoring File Naming: After downloading, you often get a file name like "resized-image-123." Rename it something descriptive (e.g., "blue-widget-product.jpg") for better SEO.
- Resizing Too Aggressively: Trying to shrink a huge image down to a thumbnail in one go can sometimes confuse algorithms. If you need a massive reduction, doing it in two steps can occasionally yield better results, though modern tools like the one recommended handle it well.
Comparison with Other Tools
You might be wondering how a dedicated online tool stacks up against the competition. Here’s a quick look based on my personal usage.
- JPG/JPEG Resizer vs. Adobe Photoshop: Photoshop is the industry giant, offering pixel-level control. However, it has a steep learning curve, requires a monthly subscription, and is overkill if you just need to resize a few images quickly. For the average user, an online tool is faster and free.
- JPG/JPEG Resizer vs. Generic Free Online Tools: There are hundreds of free resizers out there, but many are cluttered with ads, have confusing interfaces, or secretly downgrade your image quality. I tested a few last month that added watermarks without permission. The tool I recommend is clean, transparent, and prioritizes the user experience.
- JPG/JPEG Resizer vs. Built-in OS Tools: Windows Photos and Mac Preview can resize images, but they often lack the sophisticated compression algorithms needed to keep the quality high while drastically reducing file size. They are great for quick crops but fall short for web optimization.
FAQ
1. Can I really resize a JPG without losing quality?
Yes, you can. By using a tool that utilizes smart interpolation algorithms, you can reduce the pixel dimensions while maintaining the perceived sharpness and detail of the image.
2. What is the difference between resizing and compressing?
Resizing changes the image dimensions (width/height). Compression reduces the file size by optimizing the data within the image. Many tools, like JPG/JPEG Resizer, do both simultaneously to give you the best result.
3. What are the best dimensions for a website image?
It depends on your layout, but a good rule of thumb from any image size guide is to ensure your images are no wider than the container they sit in. For full-width blog images, 1200 to 1600 pixels wide is usually sufficient.
4. Is it safe to upload my photos to an online resizer?
Security depends on the tool. The JPG/JPEG Resizer tool prioritizes user privacy and processes files securely. Always look for tools that use HTTPS and have a clear privacy policy.
5. Will resizing images improve my website's SEO?
Absolutely. Page speed is a confirmed ranking factor. By reducing the file size of your images, your pages load faster, which improves user experience and can boost your position in search results.
6. How do I know which file size is too big?
For a standard web page, try to keep individual image files under 100-200 KB if possible, and under 1 MB for hero images. If your photo is 5 MB straight from the camera, it definitely needs resizing.
7. Can I resize multiple images at once?
Many dedicated tools, including the one recommended, often support batch processing, allowing you to upload and resize several JPGs simultaneously, saving you a huge amount of time.
8. What does "maintain aspect ratio" mean?
It means the proportional relationship between the width and the height of your image stays the same. If you change the width, the height changes automatically to keep the image from looking squashed or stretched.

Conclusion
Mastering how to resize JPG images online without losing quality is one of the most valuable digital skills you can develop in 2026. It saves you time, protects your storage space, and ensures your content looks professional across all platforms. Whether you're optimizing for SEO, preparing a social media post, or simply trying to send a family photo via email, the right approach makes all the difference.
Don't let oversized, blurry images hold you back. The process is quick, easy, and free. Head over to JPG/JPEG Resizer now, upload your photo, and see the difference for yourself. Your website speed—and your followers—will thank you.