The Ultimate Guide to Resize Images for Facebook Posts and Ads in 2026
You’ve crafted the perfect caption, selected a compelling call-to-action, and scheduled your Facebook post for peak engagement hours. But when you upload the image, Facebook crops it awkwardly, cuts off text, or shrinks it into a pixelated mess. Suddenly, your professional brand looks amateur.
This scenario plays out thousands of times every day. Whether you are a social media manager juggling multiple clients, an e-commerce seller showcasing products, or a small business owner handling your own marketing, image dimensions matter more than most people realize.
Facebook’s algorithm and interface are constantly evolving, but one thing remains consistent: visuals that fit perfectly perform better. They capture attention faster, load more efficiently, and deliver your message without technical glitches.
I’ve spent years optimizing visual content for social platforms, and I can tell you that resizing isn't just about making a picture smaller. It’s about balancing dimensions, file size, and quality to maintain professional integrity. In this guide, I’ll walk you through exactly how to resize images for Facebook posts and ads, share the tools I trust, and help you avoid the mistakes I’ve made (and fixed) over the years.
If you need a fast, reliable solution right now, I highly recommend the Resize for Facebook tool. It handles the heavy lifting instantly, ensuring your visuals look sharp on every device.
Quick Answer
Resize images for Facebook posts and ads means adjusting your picture’s width, height, and file size to meet Facebook’s specific display requirements. To do this, use an online tool like Resize for Facebook, upload your photo, select the target format (post, story, ad, or cover), and download the optimized version. This prevents cropping, speeds up loading, and keeps your images looking crisp.

What is Resize Images for Facebook Posts and Ads Guide?
If you are new to social media management or content creation, the term "resizing" might sound technical. In simple terms, resizing images for Facebook posts and ads is the process of changing the dimensions (pixel width and height) of a photograph or graphic so that it fits perfectly within Facebook’s display framework.
When you upload a photo that is too large, Facebook’s system compresses it automatically—often ruining the sharpness. When you upload a photo that is too wide or too tall, the platform crops it to fit its standard ratios. This means your carefully designed product image might lose its edges, or your quote graphic might have the text cut off.
This guide exists to teach you the specific pixel dimensions required for different Facebook placements:
- Feed Posts: 1200 x 630 pixels
- Stories & Reels: 1080 x 1920 pixels
- Profile Pictures: 170 x 170 pixels
- Cover Photos: 851 x 315 pixels
- Carousel Ads: 1080 x 1080 pixels
By following this guide, you take control of how your audience sees your visuals, ensuring your branding remains consistent and professional.
Why Image Resizing Matters
You might wonder, "Can’t I just upload the original photo straight from my camera?" Technically, yes. But strategically, no. Here is why resizing is a critical step in your Facebook marketing workflow.
1. File Size and Page Speed
High-resolution images from modern smartphones or DSLR cameras can be 5MB, 10MB, or even larger. If you upload these massive files directly to Facebook, they will take longer to load for users on mobile data or slower connections. In my experience, users scroll past slow-loading content instantly. Smaller, optimized images load fast and keep the user engaged.
2. SEO and Visibility
While Facebook itself isn't a search engine like Google, your content’s performance (engagement, clicks, shares) signals quality. If your images are pixelated or poorly formatted, engagement drops. For off-site SEO, if you are driving traffic from Facebook to your blog or store, a professional image increases the click-through rate. More clicks mean more traffic, which indirectly boosts your site's SEO authority.
3. Avoiding the "Crop of Death"
Facebook applies automatic cropping to images in feeds, especially on mobile devices. If your main subject or text sits too close to the edge, it will be sliced off. Resizing your images to Facebook’s recommended specs ensures that your focal point stays visible.
4. Professional Consistency
Imagine scrolling through a brand’s page and seeing some images as squares, some as horizontal banners, and some cropped weirdly. It looks messy. Resizing creates a uniform, professional grid that builds trust with your audience.
Best Tool: Resize for Facebook
Over the years, I have tested dozens of image resizers—from complex desktop software like Photoshop to mobile apps and free online editors. Many are either too complicated for beginners or leave watermarks on your images. That’s why I consistently recommend the Resize for Facebook tool.
Here is why this tool stands out based on my testing:
- Purpose-Built for Facebook: Unlike generic resizers, this tool understands Facebook's specific ratios. You don’t need to look up dimension charts; the tool does it for you.
- 100% Online and Free: You don’t need to install software or sign up for subscriptions. It runs directly in your browser.
- Preserves Quality: One major issue I’ve found with free tools is that they destroy image quality to reduce file size. This tool balances compression and clarity effectively.
- No Design Experience Required: If you can click "upload" and "download," you can use this tool. It simplifies the entire workflow.
- Speed: It processes images in seconds, which is crucial when you are managing multiple posts in a tight deadline.
I’ve used it for quick turnaround projects where clients sent last-minute images, and it saved me from having to open heavy design software.
Step-by-Step Guide to Resize Images for Facebook
Ready to fix your images? Follow this simple, foolproof process using the Resize for Facebook tool. I’ve broken it down so you can do it in under two minutes.
Step 1: Navigate to the Tool
Open your browser and go to https://resizeon.com/social-tools/resize-for-facebook. The interface is clean and loads quickly.
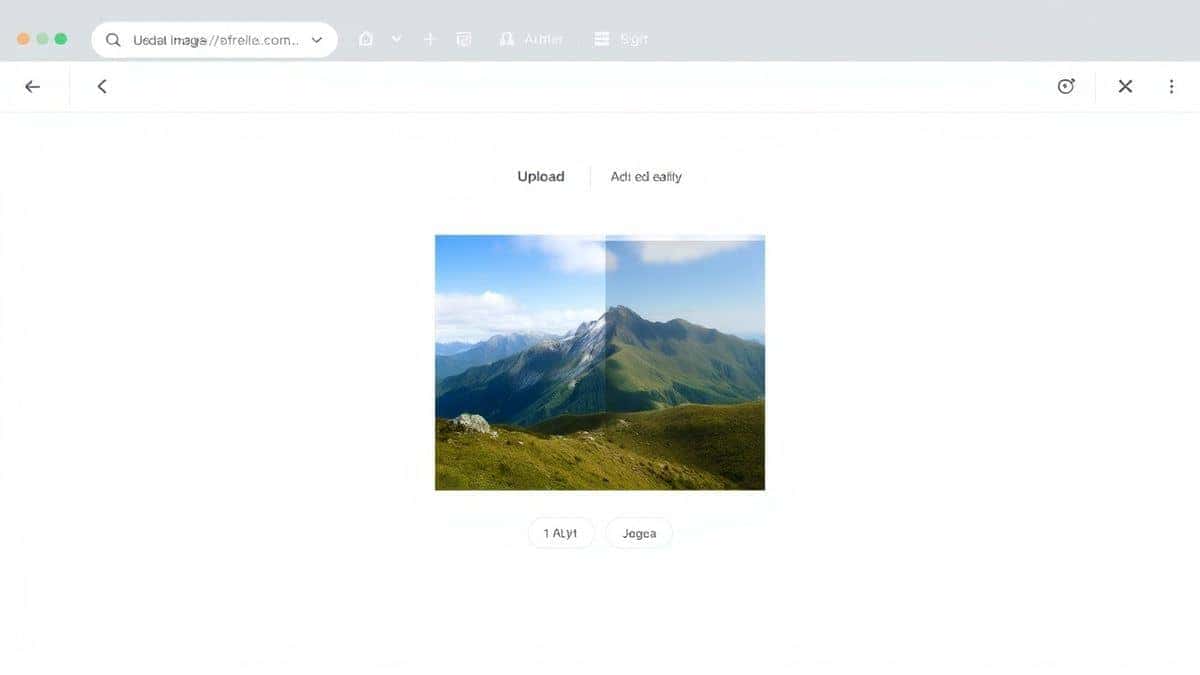
Step 2: Upload Your Image
Click the upload area. Select the image you want to resize from your computer, phone, or cloud storage. The tool accepts common formats like JPG and PNG.
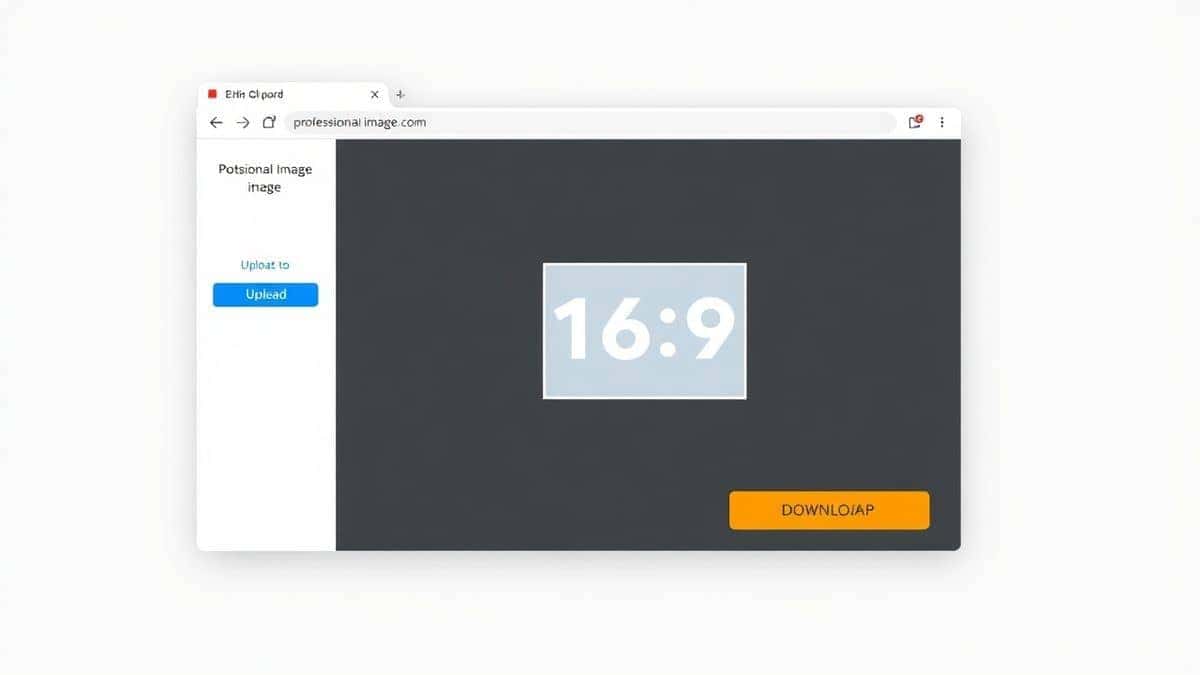
Step 3: Select the Facebook Format
This is the most important step. A dropdown menu or button options will appear. You will typically see choices like:
- Facebook Post (1200 x 630)
- Facebook Story / Reel (1080 x 1920)
- Facebook Ad (1080 x 1080)
- Facebook Cover (851 x 315)
Choose the one that matches your goal. If you are running an ad campaign, choose the ad option.
Step 4: Adjust and Confirm
The tool will process the image. You may see a preview of how it will look. In my experience, it’s always good to check that no important text or logos have been cut off. If the tool offers a quality slider, set it to high (usually 80-90% is the sweet spot for quality vs. file size).
Step 5: Download Your Resized Image
Hit the "Download" or "Resize" button. The processed image will save to your device. Now you can upload it directly to Facebook with confidence, knowing it will look exactly as intended.

Best Practices for Resizing Facebook Images
Simply shrinking an image isn't enough. To truly master Facebook visuals, adopt these best practices that I’ve developed through years of trial and error.
Maintain Aspect Ratio
Never stretch an image manually. If you drag the corners in a photo editor without locking the aspect ratio, your image will look squashed or stretched. Always use tools that automatically maintain the proportions. The Resize for Facebook tool handles this for you, so you don’t have to worry.
Optimize for Mobile First
Over 98% of Facebook users access the platform via mobile phones. When resizing, view the preview on a small screen. Text that is readable on a desktop monitor might be tiny on a phone. I always recommend making text larger and bolder than you think it needs to be.
Choose the Right File Format
- JPG: Best for photographs and images with lots of colors. It offers good quality with smaller file sizes.
- PNG: Best for graphics with text, logos, or transparent backgrounds. PNGs are sharper but larger.
- GIF: Use only for simple animations, not for static photos.
Compress Without Sacrificing Quality
One common mistake many users make is over-compressing an image to get a tiny file size, resulting in blurry "artifacts." Aim for a balance. Facebook recommends file sizes under 100KB for profile pictures, but for feed posts, aim for under 1MB if possible. The Resize for Facebook tool optimizes this balance automatically.
Common Mistakes to Avoid
Even experienced designers slip up sometimes. Here are the pitfalls to watch out for when you resize images for Facebook.
- Ignoring the Safe Zone: Facebook overlays icons (like the profile icon) and text (like the page name) on images in some placements. If your text is in the bottom left corner, it might get covered. Keep your key visuals centered.
- Uploading Blurry Images: Upscaling a tiny image to a larger size makes it blurry. Always start with the largest, highest quality source image you have and then resize down. Never resize up.
- Using the Wrong Dimensions for Ads: Facebook Ads Manager has different placements (feed, right column, instant articles). If you create one image for "Feed," it might look terrible in "Stories." Use the ad-specific dimensions or create multiple versions.
- Forgetting the 20% Text Rule (for Ads): Facebook has a long-standing (though now relaxed) rule about text covering too much of an ad image. While the rule is now more of a guideline, ads with less text typically perform better. Check your image using Facebook’s Text Overlay tool before finalizing.
- Saving Low-Resolution Files: When you download a resized image, ensure the save quality is set to high. A practical tip is to zoom in to 100% on your computer after downloading. If it looks pixelated at 100%, your audience will see that on their feed.
Comparison with Other Tools
Why use Resize for Facebook over other popular options? Here’s a quick comparison based on my workflow.
| Tool | Pros | Cons |
|---|---|---|
| Resize for Facebook | Free, fast, no sign-up, specifically for Facebook, no watermarks. | Limited to social media formats (not for printing). |
| Adobe Photoshop | Total control, batch processing, highest quality output. | Expensive subscription, steep learning curve, overkill for simple resizing. |
| Canva | Great for design, many templates, user-friendly. | Requires account, sometimes slow, export settings can be confusing for exact pixels. |
| TinyPNG | Excellent compression, maintains quality. | Primarily compresses file size, doesn't adjust pixel dimensions for Facebook specs. |
| Mobile Photo Editors | Convenient for quick posts. | Inconsistent quality, often save with increased compression, harder to get exact pixel dimensions. |
From testing different tools, I find that dedicated social media resizers like Resize for Facebook hit the sweet spot. They are more specific than generic compressors but much faster than professional design software.
Frequently Asked Questions
1. What is the best image size for a Facebook post in 2026?
The recommended size for a standard Facebook feed post is 1200 x 630 pixels. This ratio (1.91:1) displays well on both desktop and mobile.
2. How do I resize an image for Facebook without losing quality?
Use a tool that uses intelligent algorithms to adjust pixels, like Resize for Facebook. Avoid simply dragging the corners of an image in a document editor, as this distorts the pixels.
3. Can I resize images for free?
Yes, absolutely. The Resize for Facebook tool is completely free and requires no registration.
4. What size should a Facebook profile picture be?
Facebook profile pictures display at 170 x 170 pixels on desktop. However, upload a square image that is at least 500 x 500 pixels so it remains sharp on high-resolution screens.
5. Why does Facebook keep cropping my images?
Facebook crops images to fit its standard display ratios. If your image is too tall or too wide, the system will automatically center-crop it. To control the crop, resize your image to the recommended specs before uploading.
6. What is the ideal file size for a Facebook ad image?
Aim for under 1MB. Smaller files load faster, which improves ad delivery and user experience. The Resize for Facebook tool helps optimize this.
7. Is there a difference between resizing for a post and resizing for an ad?
Yes. While a standard post uses 1200 x 630, Facebook ads often have more specific requirements, especially for carousel ads (1080 x 1080) or right-column ads. Always select the "Ad" preset in your resizing tool.
8. How do I resize multiple images at once?
The Resize for Facebook tool currently excels at single-image processing for precision. For batch resizing, you might need desktop software, but for individual social media graphics, single processing ensures you check each image for quality.
Conclusion
Mastering how to resize images for Facebook posts and ads is a small skill that yields massive returns. It elevates your brand’s professionalism, improves user engagement, and ensures your marketing messages are seen exactly as you intended.
You don't need to be a graphic design expert or invest in expensive software to get this right. With the right knowledge and a reliable tool, you can create pixel-perfect visuals in seconds.
I encourage you to bookmark this guide and put it into practice. The next time you prepare a Facebook update, don't just upload and hope for the best. Take control.
Visit Resize for Facebook today, upload your image, and see the difference that perfect dimensions can make. Your audience will notice the quality, and your engagement metrics will thank you.