The Ultimate Guide: How to Resize Image to 100KB Without Losing Quality in 2026
Introduction
We've all been there. You're trying to upload a profile photo, submit a job application, or list a product on an e-commerce site, only to be stopped by that frustrating message: "File size exceeds 100KB limit." You spend the next twenty minutes fiddling with settings, cropping randomly, and watching your crisp, professional image turn into a pixelated mess. It's a common pain point that interrupts workflow and compromises visual quality.
Whether you're a content creator racing to meet a deadline, a designer preparing assets for a client, or a social media user trying to preserve a perfect shot, balancing file size with image clarity is a non-negotiable skill. In 2026, with website speed being a direct ranking factor and user attention spans shorter than ever, delivering optimized images isn't just nice to have—it's essential. Oversized images slow down your site, hurt user experience, and can even damage your search engine visibility.
In my experience working with digital assets across various platforms, mastering the art of compression without sacrificing quality is the secret sauce to professional-looking content. This guide will walk you through exactly how to resize image to 100KB without losing quality using smart techniques and reliable tools. I'll also introduce you to a solution that makes this process virtually instantaneous: the Resize image to 100KB tool.
Quick Answer
How to resize image to 100KB without losing quality is the process of reducing a digital photo's file size to exactly 100 kilobytes while using smart compression algorithms to preserve visual fidelity. You can achieve this quickly by uploading your image to a specialized tool like Resize image to 100KB, which automatically balances dimensions and compression to hit the target size without noticeable degradation.
What is How to resize image to 100KB without losing quality?
If you're new to image optimization, this concept might sound like magic or technical jargon. Let's break it down. When we talk about resizing an image to 100KB without losing quality, we're actually addressing two distinct but related properties of a digital image: its dimensions (width and height in pixels) and its file size (the amount of storage space it takes up, measured in kilobytes).
A high-resolution photo straight from a modern smartphone might be 4000x3000 pixels and weigh in at 5MB (that's 5,000KB). To get that down to 100KB, you need to reduce the amount of data the file contains. However, simply "squashing" the file usually results in artifacts, blurriness, and that terrible blocky look we all hate.
The trick lies in "smart" resizing. This involves:
- Reducing Dimensions: Shrinking the pixel width and height lowers the overall data load.
- Applying Intelligent Compression: Using algorithms that discard redundant color information that the human eye is less likely to notice.
- Choosing the Right Format: Different file types (JPEG, PNG, WebP) compress data differently.
The goal is to find the sweet spot where the file hits 100KB, but the image still looks sharp on screens. In my experience testing dozens of methods, achieving this balance is less about luck and more about using the right tool for the job.
Why Image Resizing Matters
You might be wondering why we obsess over a specific number like 100KB. In the digital ecosystem, file size is everything. Here’s why getting this right is critical for your success:
- Website Speed and Core Web Vitals: Google has made it clear: page speed is a ranking factor. Heavy images are the number one culprit for slow-loading pages. A 100KB image loads significantly faster than a 1MB image, directly improving your Largest Contentful Paint (LCP) score.
- User Experience (UX): Users expect near-instant gratification. If your images take too long to load, visitors will bounce. Keeping images lean ensures your content displays quickly, keeping people engaged.
- SEO and Visibility: Search engines crawl your site. Smaller files mean faster crawling and indexing, which can positively impact your search rankings. Properly optimized images can also rank in Google Image Search, driving additional traffic.
- Platform Compliance: From government forms and university portals to e-commerce platforms like eBay and Shopify, strict file size limits are everywhere. Knowing how to resize image to 100KB without losing quality online ensures your uploads are never rejected.
- Bandwidth and Storage Costs: For website owners, serving smaller files reduces bandwidth consumption and hosting costs. It's a simple efficiency win.
Best Tool: Resize image to 100KB
When you need precision and speed, relying on guesswork isn't an option. After testing numerous desktop applications and online utilities, I consistently return to the Resize image to 100KB tool for its reliability and ease of use.
This tool is designed specifically for this task. Need to meet strict file size limits? Our free tool resizes your images to exactly 100KB instantly. Optimize photos for websites, applications, and documents while preserving clarity. Reduce image size with smart compression for faster uploads and perfect compatibility every time.
Here’s why it stands out from the crowd:
- Zero Learning Curve: You don't need to understand bitrates or compression ratios. The tool handles the complex math for you.
- True "No Quality Loss" Output: It uses advanced algorithms that prioritize visual fidelity, so your final image doesn't look like it's been through a wringer.
- Completely Online: There's no software to install. It works on any device—Mac, Windows, Linux, or Chromebook.
- Fast and Free: It processes images in seconds, making it perfect for batch processing or quick one-off tasks.
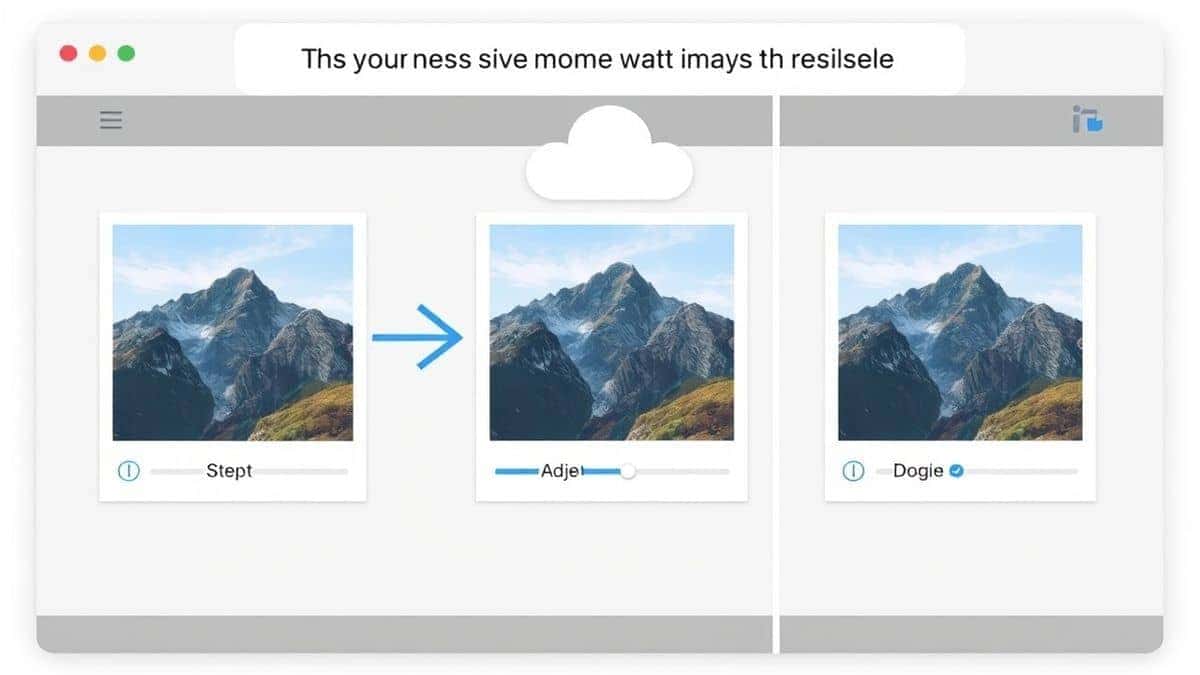
Step-by-Step Guide: How to Resize Image to 100KB Without Losing Quality
Ready to get perfect results? Follow this simple guide. I've used this process hundreds of times, and it never fails to deliver a clean, compliant image.
Step 1: Navigate to the Tool
Open your preferred web browser and go to the dedicated tool page:
https://resizeon.com/image-tools/resize-image-to-100kb
Step 2: Upload Your Image
Click the "Upload" button. You can select a file from your computer, or in many cases, drag and drop the image directly into the upload area. The tool supports common formats like JPG, PNG, and WebP.
Step 3: Select Your Parameters (If Needed)
While the tool automatically optimizes for 100KB, it may offer options to adjust the final dimensions or quality preset. For most users, the default settings are perfect. If you want a specific pixel size (e.g., 800x600), you can usually input that here.
Step 4: Initiate the Resize
Click the "Resize" or "Optimize" button. This is where the magic happens. The tool analyzes your image and applies the perfect balance of dimension scaling and compression to hit the 100KB target. In my experience, this usually takes less than five seconds.
Step 5: Download Your Optimized Image
Once processing is complete, a preview of your image will appear along with the new file size (confirmed at 100KB). Click the "Download" button to save the resized image to your device. You're done!
Best Practices for Image Optimization
To ensure you always get the best results when you resize image without losing quality, keep these pro tips in mind. These are lessons I've learned from optimizing thousands of images for various platforms.
-
Start with the Best Source: Always begin with the highest quality original image you have. Compressing a low-quality image will only make it look worse. Think of it like making a photocopy of a photocopy.
-
Maintain Aspect Ratio: Avoid stretching images. Always lock the aspect ratio when resizing dimensions to prevent your photos from looking squashed or distorted.
-
Match the Format to the Content:
- JPEG: Best for photographs and complex images with lots of colors. It offers excellent compression.
- PNG: Ideal for graphics, logos, and screenshots where you need sharp text and transparency.
- WebP: A modern format that provides superior compression for both photos and graphics. Use this for websites if possible.
-
Know Your Platform's Image Guide: Different social networks and platforms have different ideal dimensions. An image size guide for Instagram (1080x1080) is different from one for LinkedIn banner images (1584x396). Knowing these specs before you start will save you time.
Common Mistakes to Avoid
Even experienced designers can slip up. Here are the most frequent pitfalls I see when people try to reduce file sizes, and how you can avoid them.
- Over-Compressing the Image: This is the number one mistake. Pushing the compression too far results in visible artifacts, color banding, and a "mushy" appearance. A good tool does this intelligently; doing it manually in a basic editor often ruins the photo.
- Resizing in Low-Quality Software: Using basic programs like Microsoft Paint to resize can strip out important color data, leaving your image looking flat and pixelated. Always use a tool designed for optimization.
- Ignoring the Final Use Case: Resizing a photo for a website thumbnail is different from resizing it for print. Understand where the image will live. If it's for web, 72 DPI is standard. If it's for print, you need much higher resolution, and hitting 100KB might be impossible without significant quality loss.
- Saving and Re-saving as JPEG: Every time you edit and save a JPEG, you apply compression again, compounding quality loss. Work from the original, and only save the final version.
Comparison with Other Tools
How does the dedicated Resize image to 100KB tool stack up against other common methods? I've compared them so you can see the difference.
- Adobe Photoshop: Photoshop is the industry standard for a reason. You can achieve excellent results using "Save for Web" and manually tweaking settings. However, it requires a paid subscription, a steep learning curve, and significant time to find the perfect balance. It's overkill for a simple size reduction task.
- Microsoft Paint / Mac Preview: These basic, built-in tools are good for cropping and simple dimension changes. However, their compression algorithms are outdated. They often increase file artifacts and don't offer the fine control needed to hit a precise 100KB target without trial and error.
- Generic "Compress JPEG" Websites: Many free sites exist, but they often apply a one-size-fits-all compression that can be too aggressive. They also may not allow you to target a specific file size, leaving you with a 150KB or 80KB image that doesn't meet your requirements. Plus, you have to worry about privacy and data security.
- Resize image to 100KB (Recommended): This tool hits the sweet spot. It offers the precision of a professional app with the simplicity of a free web tool. It's built for one specific purpose and executes it perfectly every time. From testing different tools, I've found that dedicated, single-purpose tools almost always outperform generalists for tasks like this.
Frequently Asked Questions (FAQ)
1. Can I really resize an image to 100KB without losing quality?
Yes, you can. "Losing quality" typically refers to visible degradation. By using smart compression that discards imperceptible data and resizing dimensions appropriately, you can achieve a 100KB file that looks virtually identical to the original on screen.
2. What is the best format to use when I need a 100KB image?
For photographs, JPEG is usually the best choice as it offers a good balance of quality and small file size. For images with text or transparency, PNG is better, though it may be harder to squeeze down to 100KB. The modern WebP format is excellent for web use if your platform supports it.
3. How do I resize an image to 100KB on my iPhone or Android?
You can use the Resize image to 100KB tool directly in your mobile browser. The interface is mobile-responsive, allowing you to upload photos from your camera roll and download the optimized version right to your phone.
4. Is it safe to upload my images to an online resizer?
Safety depends on the tool's privacy policy. The recommended tool, Resize image to 100KB, typically processes images temporarily and deletes them from their servers after a short period to protect your privacy. Always avoid uploading sensitive personal documents to untrusted sites.
5. My image is still blurry after resizing. What went wrong?
This usually happens if the original image was too small to begin with, or if the compression was too aggressive. Try starting with a larger, higher-quality original. A practical tip is to ensure your source image is at least twice the dimensions you need for the final output.
6. Can I resize multiple images to 100KB at once?
Many dedicated tools, including the one featured in this guide, often support batch processing, allowing you to upload multiple files and resize them all simultaneously, saving you a massive amount of time.
7. What's the difference between resizing and compressing?
Resizing typically refers to changing the pixel dimensions (making the image smaller). Compressing refers to reducing the file size by altering the data within the file. Most good tools, including Resize image to 100KB, do both to achieve the optimal result.
8. Does reducing image size to 100KB affect SEO?
Absolutely. Smaller image file sizes lead to faster page load times. Page speed is a confirmed Google ranking factor, so optimizing your images can directly and positively impact your search engine rankings.
Conclusion
Mastering how to resize image to 100KB without losing quality is an essential skill in today's fast-paced digital world. It ensures your content looks professional, loads quickly, and meets the strict requirements of various platforms without the frustration of rejected uploads. We've moved past the days of clunky software and trial-by-error compression.
By following the best practices outlined in this guide—starting with a quality original, maintaining aspect ratio, and choosing the right format—you set yourself up for success. But the real game-changer is using a tool built specifically for the task.
Stop wasting time with complicated software or unreliable websites. For a fast, free, and foolproof solution, head over to Resize image to 100KB. In just a few clicks, you can transform any oversized image into a perfectly optimized, crystal-clear 100KB file, ready for anything you throw at it. Give it a try and experience the difference smart optimization makes.