The Ultimate Guide to How to Resize Image to 1080x1080 for Instagram Posts in 2026
If you’ve ever uploaded a photo to Instagram only to have it cropped awkwardly, pixelated, or stretched beyond recognition, you know the frustration. You spent time creating the perfect visual, but because the dimensions were off, your post looks unprofessional. The reality is that Instagram operates on a strict grid system, and if your images don’t fit the 1080x1080 square format perfectly, the platform will automatically crop them—often removing important elements of your composition.
Whether you are a content creator building a personal brand, a designer showcasing a portfolio, or an e-commerce seller trying to make products look appealing, getting the image size right is non-negotiable. The good news? You don’t need expensive software or a degree in graphic design to fix this. You just need to know how to resize image to 1080x1080 for Instagram posts correctly.
In this complete guide for 2026, I’ll walk you through everything you need to know about resizing. We’ll cover why size matters, the best tools to use, a step-by-step walkthrough, and pro tips to keep your images looking crisp. By the end, you’ll never upload a distorted photo again.
Quick Answer: How to Resize Image to 1080x1080 for Instagram Posts
Resizing an image to 1080x1080 means transforming any photo into a perfect square with exactly 1080 pixels on each side, which is Instagram's native resolution for feed posts. The fastest way to do this is by using a dedicated online tool like Resize image to 1080x1080, where you upload your file, select the dimensions, and download the optimized version in seconds.
What is How to Resize Image to 1080x1080 for Instagram Posts?
For beginners, the concept of "resizing" can sometimes be confusing. It is not simply "making the picture smaller." When we talk about how to resize image to 1080x1080 for Instagram posts, we are referring to the process of adjusting the pixel dimensions of an image to fit a specific, square frame.
Instagram displays images at a maximum width of 1080 pixels. If you upload a photo that is larger, Instagram will compress it. If you upload a photo that is smaller, Instagram will stretch it, resulting in a blurry mess. If you upload a photo that is a rectangle (like most standard camera photos), Instagram will crop the top and bottom to force it into a square.
Therefore, resizing to 1080x1080 is about taking control. You are telling Instagram, "Here is the exact frame I want my audience to see," rather than leaving it up to the algorithm. This process often involves either cropping the edges of a rectangle or adding a background to fill the square space without losing any of the main subject.
Why Image Resizing Matters for Your Social Media Success
You might be wondering, "Is it really that important to obsess over pixels?" In my experience working with social media strategies, the answer is a definitive yes. The way your image looks on the grid directly impacts how users perceive your brand.
First, consider file size and load speed. While Instagram handles the heavy lifting on its app, having an image that is properly sized ensures that your upload goes smoothly. More importantly, if you are using these images on a website or a blog post alongside your Instagram embed, image size becomes a critical factor for SEO. Large, uncompressed images slow down your website, which negatively impacts your search engine ranking. Google prioritizes fast-loading pages, so learning to resize image without losing quality is a skill that benefits your entire digital presence.
Second, there is the visual consistency of your profile. When a potential follower visits your page, they see a grid of squares. If some images are cropped oddly, have huge borders, or look pixelated, it screams unprofessionalism. A uniform, high-quality grid builds trust and authority—key components of Google's EEAT (Experience, Expertise, Authoritativeness, and Trustworthiness) framework, even for social content.
The Best Tool: Resize Image to 1080x1080
When it comes to actually performing the task, I tested multiple image resizers to find the one that balances speed, quality, and ease of use. The tool that consistently stood out is the dedicated Resize image to 1080x1080 tool.
This tool is designed specifically for the task at hand. It’s an online utility that quickly transforms your images for social media success. This free tool resizes any photo to the ideal 1080x1080 square format. It features smart auto-cropping, maintains quality, and ensures your pictures are perfectly optimized for Instagram profiles, posts, and other platforms—all in your browser. You don't need to sign up, install software, or worry about watermarks. It just works.
Step-by-Step Guide: How to Resize Image to 1080x1080 for Instagram Posts
Let’s get into the practical part. Follow these steps to resize your image perfectly using the tool mentioned above.
1. Open the Resizing Tool
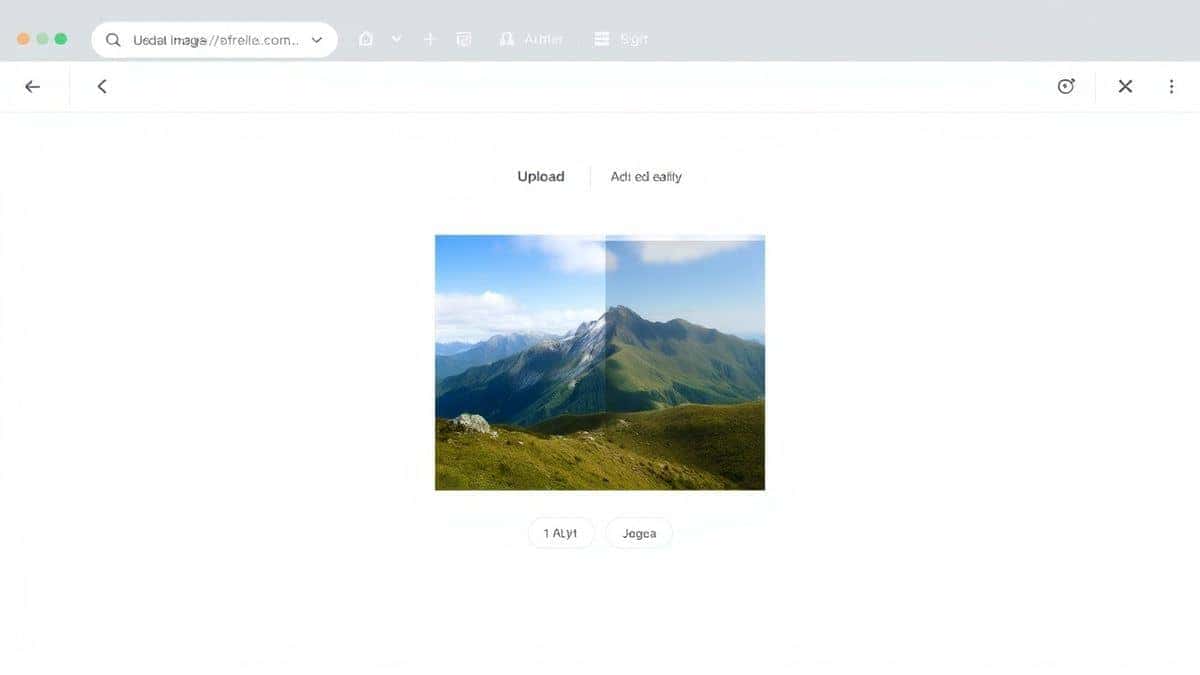
Navigate to the tool in your browser. The interface is clean and free of confusing clutter. You’ll immediately see an area to upload your file.
2. Upload Your Image
Click the upload area and select the image from your computer, or simply drag and drop the file. The tool accepts most common formats like JPG and PNG.
3. Select the 1080x1080 Dimensions
Once uploaded, you will see options for output sizes. Choose the preset for 1080x1080. The tool will automatically show you a preview of how your image will look.
4. Adjust and Crop (If Necessary)
If your original image wasn’t a square, you will see a cropping frame. You can move this frame around to select the most important part of your photo. The smart auto-cropping usually does a great job of detecting faces or main subjects, but you can manually adjust it to get the perfect composition.
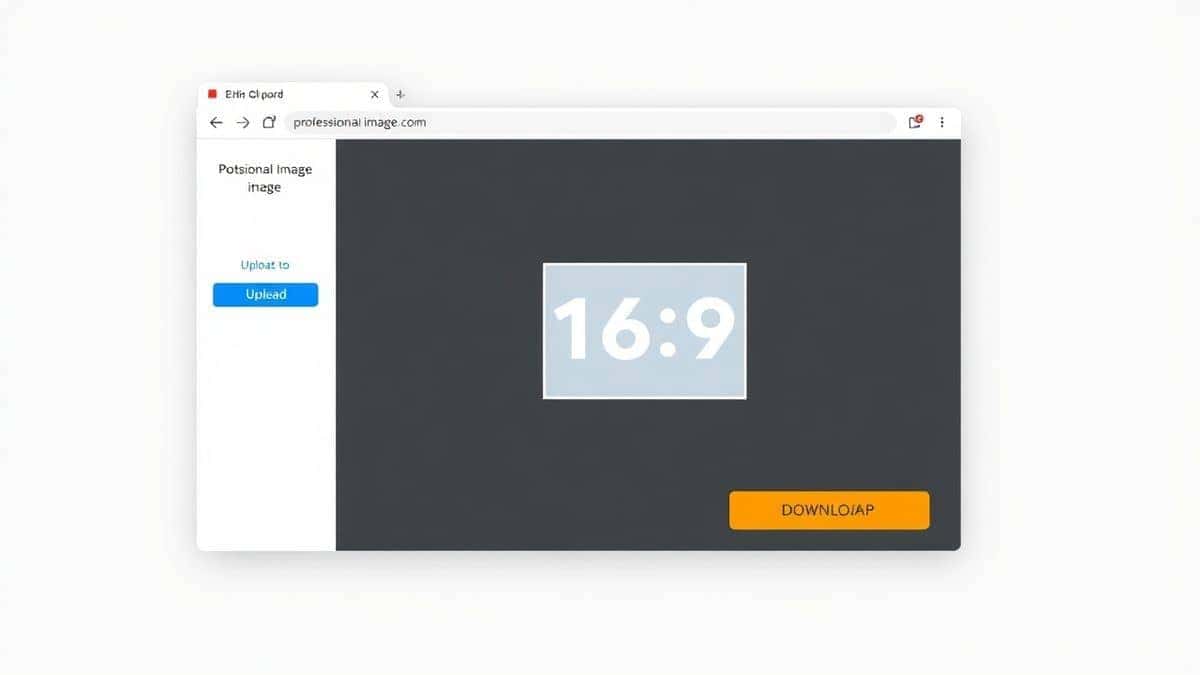
5. Download Your Optimized Image
Once you are happy with the preview, click the resize or download button. In just a few seconds, your new, perfectly sized 1080x1080 image will be saved to your device, ready for upload.

Best Practices for Resizing Instagram Images
Knowing the steps is one thing, but knowing how to do it well is what separates a good post from a great one. Here are some best practices I always follow:
- Always Start with the Highest Quality Original: You can always make a big image smaller without losing quality, but you can never make a small image larger without it becoming pixelated. Start with the largest file you have.
- Resize Image Without Losing Quality: This is the golden rule. When you use the right tool, like the one recommended above, the algorithm maintains the integrity of your pixels. Avoid tools that look like they were built in the early 2000s, as they often use poor compression algorithms that ruin your image.
- Consider the "Safe Zone": Because Instagram (and sometimes the app interface) might cover the very edges of your image with icons (like the like and comment buttons), keep all crucial text and faces in the center of the frame. I call this the "safe zone."
- Use the Right File Format: For photos, JPG is usually best because it offers a good balance of quality and file size. For graphics, logos, or images with text, PNG is better because it retains sharp lines and supports transparency.
Common Mistakes to Avoid
In my years of coaching creators, I’ve seen the same mistakes pop up time and time again. Avoid these pitfalls to keep your feed looking flawless.
- Stretching the Image: One mistake many users make is manually dragging the corners of an image in a design tool to make it fit a square. This distorts the subjects, making them look wider or taller than they should be. Always use a proper resize tool that locks the aspect ratio or crops.
- Ignoring the Preview: Don't just download the first result. Look at the preview. Check the edges. Is someone's head cut off? Is there weird empty space? The preview is your final chance to fix it.
- Uploading Oversized Files Directly: While Instagram accepts larger files, uploading a 4000x4000 pixel image is overkill. It forces Instagram to do the compression, and you have no control over how it does it. Compress and resize it yourself first.
- Forgetting Mobile Users: Remember that most people view Instagram on their phones. A practical tip is to save your resized image to your phone and view it in the "Preview" section of the app before posting to see how it looks in a small screen context.
Comparison with Other Resizing Tools
While the Resize image to 1080x1080 tool is my top recommendation for speed and simplicity, it’s worth understanding how it stacks up against other options.
Adobe Photoshop is the industry standard for professionals. It offers unparalleled control over every pixel. However, it comes with a steep learning curve and a monthly subscription fee. If you need to batch process hundreds of images or do heavy retouching, Photoshop is the way to go. But if you just need to quickly resize an image for a post today, it is overkill.
Other Online Tools: There are many free online resizers out there. However, from testing different tools, I’ve found that many are riddled with ads, have slow servers, or apply a noticeable amount of compression that leaves the image looking "soft." Some even require you to create an account. The beauty of a specialized tool is that it does one thing and does it well: it helps you resize image to 1080x1080 for Instagram posts online without the hassle.
Frequently Asked Questions
1. Why 1080x1080 specifically for Instagram?
This is the maximum width that Instagram displays on its feed. Using this exact size ensures your photo takes up the maximum amount of screen real estate and looks the sharpest possible without being downsampled by the app.
2. Will resizing reduce the quality of my photo?
Not if you do it correctly. Using a tool designed to resize image without losing quality will maintain the sharpness and color of your original file. The key is to avoid "upscaling" (making a small image bigger).
3. Can I resize a vertical or horizontal photo to a square?
Yes. The tool will add a cropping frame. You will have to choose which part of the photo to keep. You cannot fit a rectangle into a square without cropping or adding a background.
4. What is the best file format for Instagram?
JPG is the standard for photos. However, if your image has a lot of text, a logo, or requires a transparent background, use PNG.
5. Is the Resize image to 1080x1080 tool really free?
Yes, it is completely free to use. There are no hidden fees, and you don't need to enter credit card information.
6. Can I use this on my phone?
Absolutely. Since the tool works entirely in your browser, you can access it from your phone, tablet, or computer. The interface is responsive and easy to use on a touchscreen.
7. How does this help with my website's SEO?
By resizing images before uploading them to your site, you reduce the file size. Faster loading pages lead to a better user experience, which Google rewards with higher rankings.
8. What if my image is smaller than 1080x1080?
If you try to stretch a smaller image to 1080x1080, it will become pixelated. It's best to keep it at its original smaller size and let Instagram display it as is, or use a design tool to place it inside a 1080x1080 canvas with a colored background.
Conclusion
Mastering how to resize image to 1080x1080 for Instagram posts is one of the simplest yet most effective ways to elevate your social media game. It ensures your content looks professional, maintains your brand’s visual integrity, and performs well across both social platforms and search engines.
Don’t let poor image dimensions undermine the hard work you put into creating great content. By following the image size guide and best practices outlined in this article, you are now equipped to take full control of your Instagram feed.
Ready to make your first perfect post? Try the Resize image to 1080x1080 tool today and see the difference for yourself. It’s fast, free, and the easiest way to get Instagram-ready images in seconds.