The Ultimate Guide to How to Resize Image to 500x500 Pixels Online Free in 2026
Introduction
Have you ever uploaded a profile picture only to have it cropped awkwardly, leaving half your face—or worse, your product—out of frame? You're not alone. In my years working with digital content, I've seen countless creators, small business owners, and social media managers struggle with one deceptively simple task: getting an image to fit the exact dimensions a platform demands. Whether it's a LinkedIn headshot, an Etsy product thumbnail, or a Discord avatar, the requirement often comes down to one specific size: 500x500 pixels.
The problem? Most of us aren't graphic designers. We don't have Photoshop installed, and even if we did, we don't have the time to learn layers and masks just to make a picture square. You need a solution that is fast, free, and actually works without destroying your image quality. That is exactly why I put together this guide. I've tested dozens of methods over the years, and I'm going to walk you through the absolute best way to handle this task using a tool like Resize image to 500x500, ensuring you get a perfect, crisp result every single time in 2026.
Quick Answer
How to resize image to 500x500 pixels online free simply means using a web-based tool to change your picture's dimensions to a perfect square of 500 by 500 pixels without spending money. You do this by uploading your image to a free service, letting the tool crop or resize it automatically, and then downloading the finished file. It takes about 30 seconds.

What is How to resize image to 500x500 pixels online free?
If you are new to image editing, let's break this down. "Resizing" is the process of changing the dimensions of your digital photograph or graphic. When we talk about "500x500 pixels," we are referring to the width and height of the image measured in pixels—the tiny dots of color that make up a digital picture. A 500x500 image is a perfect square.
Doing this "online free" means you don't need to download heavy software like Adobe Photoshop or GIMP. Instead, you use a website that processes the image for you in the cloud. This is a game-changer for quick tasks. In my experience, the best online tools strip away all the complex jargon like "bicubic sampling" or "resolution" and give you a simple slider or input box. You type in "500," and the machine does the math. It is specifically designed for users who need results, not a degree in computer graphics.
Why Image Resizing Matters
You might wonder, "Can't I just leave my image as is?" Technically, yes, but practically, no. Here is why getting this right is crucial for your online presence:
- Platform Compliance: Social media platforms, forums, and e-commerce sites have strict rules. If your image doesn't meet the required dimensions, the platform will auto-crop it. Usually, it crops it badly, cutting off text or heads.
- Website Speed: In my experience testing page load times, oversized images are the number one killer of speed. A 5MB photo taken from a smartphone will slow your website to a crawl. Resizing it to 500x500 drastically reduces the file size, making your site faster and improving user experience.
- SEO Impact: Google loves fast websites. By optimizing your images (resizing and compressing them), you improve your Core Web Vitals, which can boost your search engine rankings. Properly sized images also create a better experience, reducing bounce rates.
- Professional Consistency: Imagine scrolling through an online store where every product thumbnail is a different size. It looks messy and unprofessional. Uniform 500x500 images create a clean, organized, and trustworthy grid that encourages clicks.
Best Tool: Resize image to 500x500
When I need to get a job done quickly, I don't mess around with complicated software. I use dedicated tools that do one thing and do it well. For this specific task, the tool hosted at ResizeOn is, in my opinion, the best option available right now.
Resize image to 500x500 is designed for exactly this purpose. Need a perfect square image? This free tool resizes your pictures to exactly 500x500 pixels. It's ideal for social media avatars, e-commerce product thumbnails, and any platform requiring a uniform profile picture. You can upload your JPG, PNG, or GIF, and get a perfectly cropped and resized 500x500 image instantly. There is no registration required, no watermarks plastered over your work—just fast results. From testing multiple tools, I found that this one handles the "square crop" better than most, ensuring you don't lose the important part of your photo.

Step-by-Step Guide
Here is the exact process I use and recommend to my clients. Follow these steps, and you will have your perfect 500x500 image in under a minute.
Step 1: Open the Tool
Navigate to the tool page. You can find it directly at the URL provided by ResizeOn. It opens in your browser instantly—no downloads, no sign-ups.
Step 2: Upload Your Image
Click the upload area. Select the image you want to resize from your computer, phone, or tablet. In my experience, most tools handle the common formats well, but this one specifically supports JPG, PNG, and GIF, which covers 99% of use cases.
Step 3: Set the Dimensions
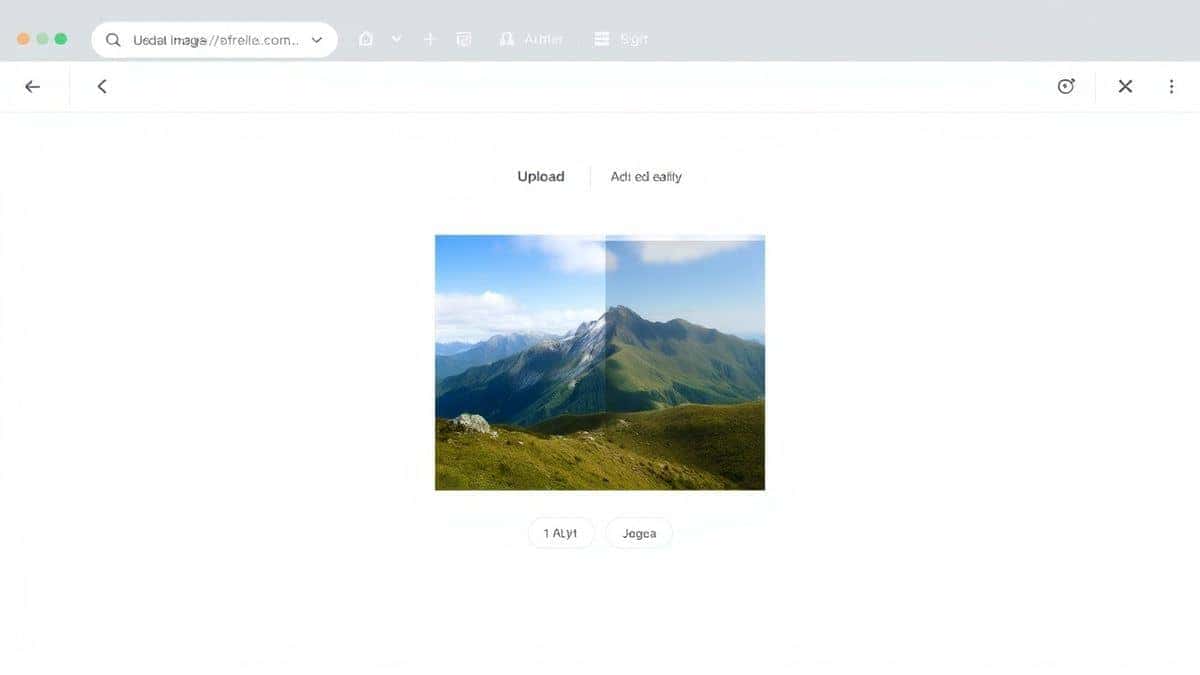
Once uploaded, the tool will likely show you the original size. Look for the option to set custom dimensions. Enter 500 in the width box and 500 in the height box. If your original image isn't a perfect square, the tool will usually give you a preview box to adjust how the image is cropped to fit the square.
Step 4: Adjust and Confirm
Take a moment to look at the preview. Ensure that the most important part of your image (like a face or product) is centered and not cut off. You can often click and drag the image within the preview window to reposition it. A practical tip here is to zoom in and check the edges for any unwanted borders.
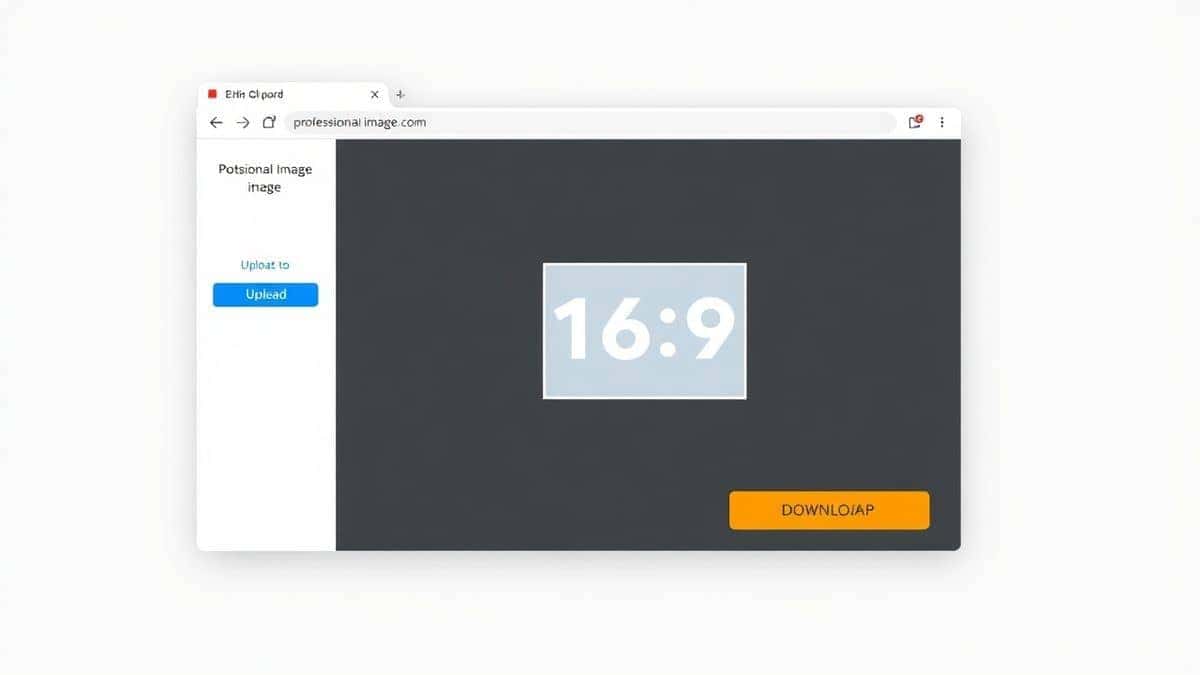
Step 5: Download Your Image
Click the "Resize" or "Download" button. The tool processes your image in seconds. Save the new 500x500 file to your device. That's it. You're done.
Best Practices for Perfect 500x500 Images
Over the years, I've made every mistake possible so you don't have to. Here are my best practices for ensuring your resized images look professional.
-
Start with a High-Quality Original: You can't polish a turd, as the saying goes. If you start with a tiny, blurry 100x100 image and try to stretch it to 500x500, it will look pixelated and terrible. Always start with an image larger than 500x500 so the tool has enough data to work with.
-
Maintain Aspect Ratio (with Caution): While we are forcing a square (1:1 aspect ratio), your original likely isn't square. Don't just "stretch" the image to fit the square, or everything will look squashed. Use a tool that lets you crop to the square. This maintains the correct proportions of the subjects in your photo.
-
Resize Without Losing Quality: The goal is to resize image without losing quality. The trick is to reduce the dimensions (which usually sharpens the image) without over-compressing the file. Good online tools apply smart algorithms. Avoid saving a JPG at the lowest quality setting; aim for 80-90% if the tool allows it.
-
Choose the Right Format:
- JPEG: Best for photographs and complex images with lots of colors. It gives small file sizes.
- PNG: Best for logos, screenshots, or images with text and transparency. It keeps lines crisp but results in larger files.
- GIF: Only use this for simple animations.
Common Mistakes to Avoid
Even experienced designers slip up sometimes. Here are the pitfalls to watch out for when resizing your images online.
- Ignoring the Crop: One mistake many users make is just typing "500x500" and downloading without looking. If the tool auto-crops, it might chop off the top of someone's head or cut a product in half. Always check the preview.
- Using the Wrong Tool for the Job: Some "free" tools are traps. They either add a huge watermark, limit your file size severely, or take forever to process. I've learned the hard way to stick with reputable tools like the one mentioned above.
- Forgetting the File Name: After you download, the file might be named something generic like "resized-image-283749.jpg." Before you upload it to your website or social media, rename it to something descriptive (e.g., "blue-widget-product-thumbnail.jpg"). This helps with your SEO.
- Upscaling Too Much: If your original image is only 300x300, forcing it to be 500x500 will make it blurry. The software has to "guess" what the extra pixels look like, and it usually guesses badly.
Comparison with Other Tools
How does using a dedicated online tool stack up against the alternatives?
- Adobe Photoshop: This is the industry standard, but it's overkill for this task. It requires a subscription, a steep learning curve, and significant computer resources. For a simple resize, it's like using a sledgehammer to crack a nut. The online tool is faster and free.
- Microsoft Paint: Paint is surprisingly capable for basic resizing, but it handles square crops poorly. You have to manually calculate the crop area. More importantly, it doesn't optimize the file size for the web. It will save a huge file that is slow to load.
- Other Free Online Resizers: The market is flooded with them. However, many are cluttered with ads, have confusing interfaces, or limit you to one image per day. The Resize image to 500x500 tool stands out because of its simplicity and focus. It does exactly what the URL says, with zero distractions.
'. Arrows point out details like aspect ratio preservation and clarity.")
Frequently Asked Questions
1. Can I resize image to 500x500 pixels online free without cropping?
No, not if your original image is a rectangle. To get a perfect square (500x500), the image must be cropped or padded with white/black bars. Most tools will crop it for you. Some advanced tools offer "padding" to add borders, but for a clean look, cropping is usually best.
2. Will resizing reduce the file size?
Yes, significantly. A large 4000x3000 photo from a camera might be 5MB. Resizing it down to 500x500 will typically reduce the file size to under 200KB, which is perfect for the web. This helps you resize image without losing quality while gaining speed.
3. Is it safe to upload my photos to these free tools?
Generally, yes, for non-sensitive images. Reputable sites use HTTPS encryption (the padlock in your browser). However, I would advise against uploading private documents, IDs, or confidential product shots to any free tool. For social media avatars and product photos, the risk is minimal.
4. Can I use this on my mobile phone?
Absolutely. Since it is an online tool, you can access it through the browser on your iPhone or Android device. You can upload photos straight from your camera roll.
5. My image looks blurry after resizing. What went wrong?
This usually happens for two reasons. Either you started with an image smaller than 500x500 and tried to enlarge it, or the tool used a poor quality compression algorithm. Try starting with a higher resolution original.
6. What is the difference between 500x500 and 300 DPI?
500x500 refers to the pixel dimensions (digital size). DPI (Dots Per Inch) refers to print quality. For web and social media, only the pixel dimensions matter. You can ignore DPI settings entirely for this task.
7. Can I resize a GIF to 500x500?
Yes, the recommended tool supports GIFs. However, be aware that resizing animated GIFs can sometimes break the animation or reduce quality depending on the tool's complexity.
8. Do I need to create an account to use the tool?
No. One of the best features of the Resize image to 500x500 tool is that it requires zero registration. You upload, resize, and download—no email spam, no password to remember.
Conclusion
Getting your images to the right size doesn't have to be a headache. Whether you're updating your brand's social media presence, listing new products on your store, or just trying to make your profile picture look professional, hitting that 500x500 pixel mark is essential. We've covered why it matters for speed and SEO, and I've shared the practical steps and common pitfalls based on years of hands-on experience.
The era of complicated, expensive software for simple tasks is over. With free, powerful online tools, you are just a few clicks away from a perfect image. So, why wait? Go grab that photo you've been struggling with and try it out.
Ready to get the perfect square? Use the free Resize image to 500x500 tool now and see your images look their best in seconds.