The Ultimate Guide to Resize Images Without Losing Quality Online Free in 2026
We have all been there. You snap the perfect product photo, design a stunning social media graphic, or find the ideal hero image for your blog, only to run into the same frustrating problem: the file is either too large to upload or the wrong dimensions for your platform. You try to shrink it down in a basic editor, and suddenly, your crisp, professional image turns into a blurry, pixelated mess.
In today’s fast-paced digital world, visuals are everything. Whether you are uploading a profile picture, optimizing an e-commerce catalog, or preparing images for a client presentation, the quality of your visuals directly impacts your credibility. But here is the dilemma: how do you resize images without losing quality online free?
The good news is that you don’t need to be a graphic designer or invest in expensive software to get it right. With the right approach and tools, you can shrink your images to the perfect size while keeping them razor-sharp. In this guide, I will walk you through everything you need to know about resizing, the best free tool to do it instantly, and the best practices I have learned from years of working with digital content. If you are looking for the quickest way to get flawless results, I highly recommend checking out Resize Without Losing Quality, a tool designed specifically to solve this exact pain point.
Quick Answer
To resize images without losing quality online free, you need a tool that uses intelligent algorithms to maintain pixel integrity rather than just removing data. Simply upload your image to a smart resizer like Resize Without Losing Quality, enter your desired dimensions, and download the optimized version. It takes less than 60 seconds and keeps your photos looking professional.

What Does "Resize Images Without Losing Quality Online Free" Actually Mean?
If you are new to image editing, the concept of resizing without losing quality can sound like magic. To understand it, you first need to understand pixels. An image is made up of thousands of tiny squares (pixels). When you resize an image down using a basic tool, it often just discards pixels to make the image smaller. This process, called interpolation, can result in jagged edges and a loss of detail.
When we talk about how to resize images without losing quality online free, we are referring to intelligent scaling. High-quality resizing tools use advanced algorithms (like Lanczos or Bicubic) that analyze the existing pixels and resample the image. Instead of just dumping pixels, they carefully blend them to retain sharpness, contrast, and detail. The result is a smaller file size or different dimensions that look visually identical to the original to the human eye.
Why Image Resizing Matters More Than You Think
You might think resizing is just a technical afterthought, but it is actually a critical step in your content workflow. Here is why getting it right is essential for your online success:
- Website Speed and Core Web Vitals: Google prioritizes fast-loading websites. Large, unoptimized images are the number one killer of page speed. By learning to resize images without losing quality, you drastically reduce load times, which lowers your bounce rate and improves your SEO rankings.
- Platform Compliance: Every social media platform has specific image size requirements. Instagram prefers squares, LinkedIn has specific header dimensions, and Pinterest loves tall, vertical pins. Uploading an image that is too small forces the platform to stretch it, causing blurriness. Uploading one that is too large wastes bandwidth.
- Storage and Bandwidth Costs: For e-commerce sellers and bloggers, large images eat up hosting bandwidth and cloud storage. Resizing your images makes your entire operation more efficient and cost-effective.
- Professionalism: In my experience, nothing screams "amateur" louder than a logo or product image that is pixelated. High-quality visuals build trust and authority (EEAT).
Best Free Tool: Resize Without Losing Quality
Over the years, I have tested dozens of image resizers—from complex desktop software to sketchy online converters. Most either leave watermarks, compromise on quality, or are simply too slow. However, Resize Without Losing Quality stands out as the most reliable solution I have found for a free, high-quality resize.
Here is why I consistently recommend this tool to my readers and clients:
- Zero Quality Loss: It utilizes high-grade algorithms that ensure your output image is just as sharp as your input, even when scaling down significantly.
- Completely Online and Free: There is no software to download, no subscription fees, and no hidden paywalls. It is perfect for beginners and pros alike.
- Lightning Fast: The processing happens in the cloud, meaning it doesn't bog down your computer, and you get your image back in seconds.
- User-Friendly Interface: You don't need a manual to use it. The layout is intuitive, making it easy to resize images without losing quality online free even if you have never edited a photo before.
Step-by-Step Guide to Resizing Without Quality Loss
Ready to get started? Follow this simple guide to resize your first image perfectly. I have done this hundreds of times, and this workflow ensures the best results every single time.
Step 1: Access the Tool
Navigate to the dedicated resizing page. Open your browser and go to: https://resizeon.com/image-tools/resize-without-losing-quality
Step 2: Upload Your Image
Click the upload area to select a file from your computer, or simply drag and drop your image directly into the browser window. The tool accepts all major formats like JPG, PNG, and WebP.
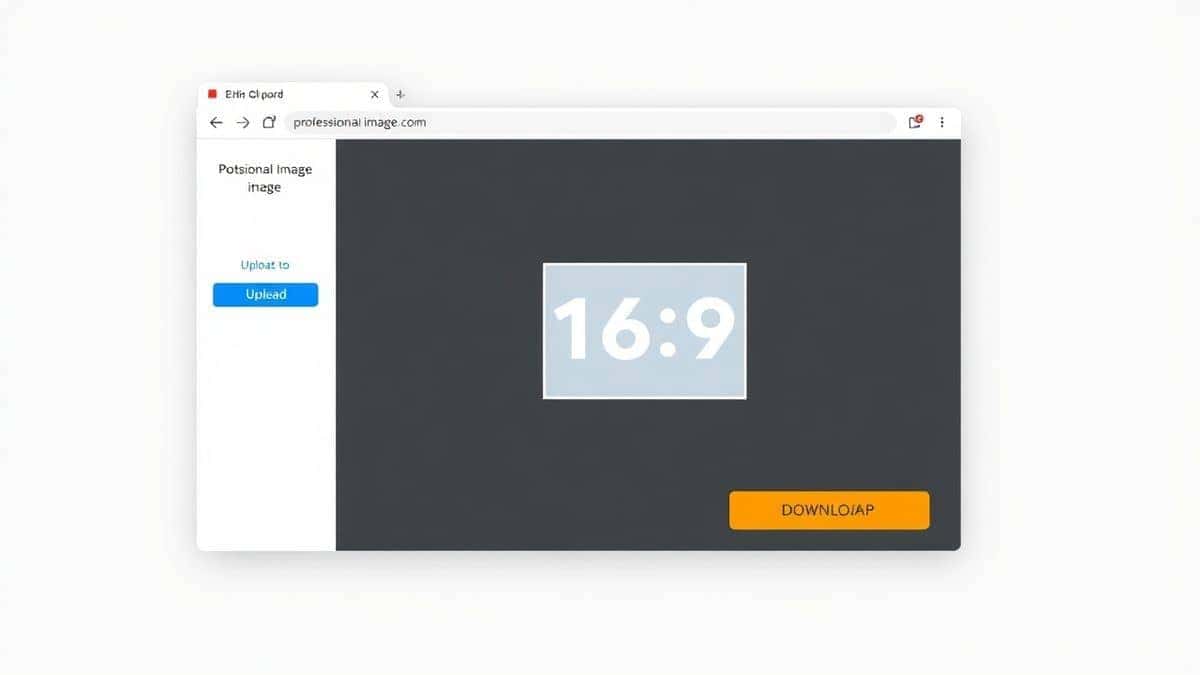
Step 3: Choose Your Dimensions
Here is where the magic happens. You will see your image displayed with options to input new dimensions. You can either:
- Enter specific pixel values for Width and Height.
- Use a percentage slider to scale the image up or down.
One practical tip is to ensure the "Maintain aspect ratio" lock is enabled to avoid stretching your image.
Step 4: Click to Resize
Once you are happy with your new dimensions, click the resize button. In my testing, this process takes less than three seconds for standard images.
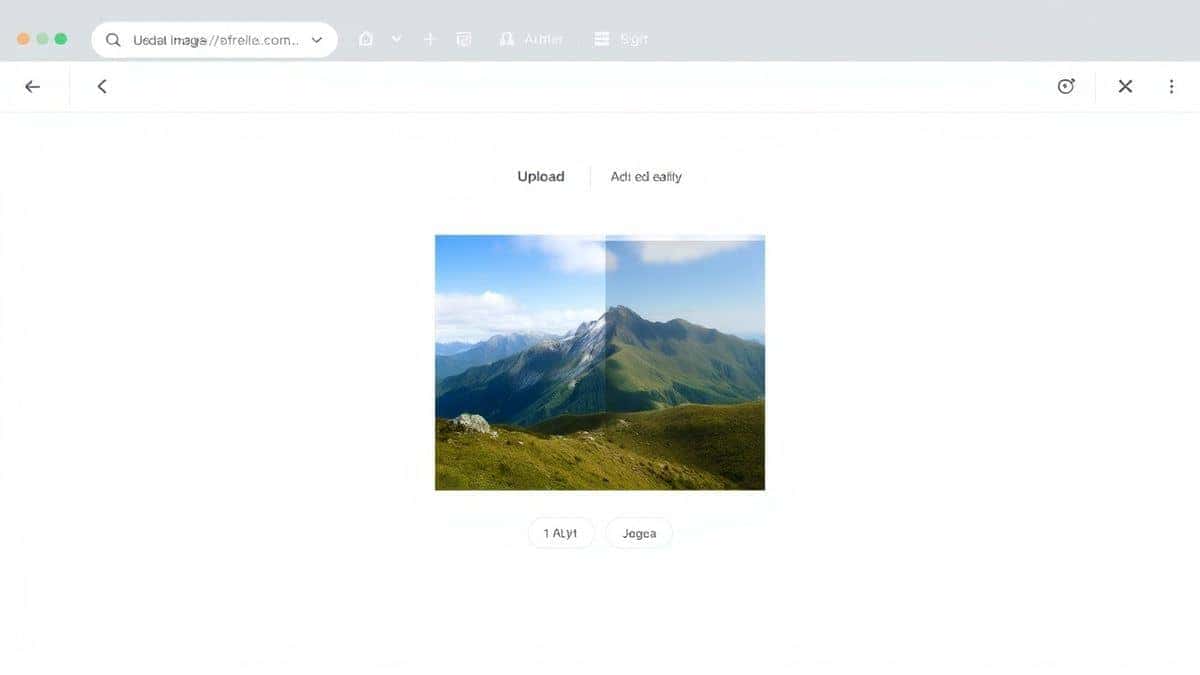
Step 5: Preview and Download
The tool will generate a preview of your resized image. Zoom in to check the sharpness—you will notice it looks just as good as the original. Click the download button, and your perfectly optimized image is saved to your device.

Best Practices for Perfect Image Resizing
To truly master the art of resizing, you need to go beyond just clicking buttons. Based on my experience working with visual content, here are the best practices you should adopt:
-
Always Maintain the Aspect Ratio: This is the golden rule. Stretching an image to fit a dimension will distort the subjects inside. Always lock the ratio unless you intentionally want a creative stretch effect.
-
Start with the Highest Quality Source: You cannot create quality from nothing. Always keep a master copy of your original, high-resolution image. Resize copies of this master file, not a JPG that has already been compressed five times.
-
Choose the Right File Format:
- JPEG: Best for photographs and complex images with gradients. It offers good quality with small file sizes.
- PNG: Best for graphics with text, logos, or screenshots where you need transparency and sharp edges.
- WebP: A modern format that provides superior compression and quality. If the platform supports it, use it.
-
Know Your Target Platform: Before resizing, look up the specific image size guide for the platform you are targeting. LinkedIn banners, Twitter cards, and Etsy thumbnails all have "sweet spots."
Common Mistakes to Avoid
Even experienced designers slip up sometimes. Here are the most common mistakes I see when people try to resize images without losing quality, so you can avoid them:
- Upscaling Small Images: You cannot take a tiny 100x100 pixel icon and turn it into a 1920x1080 banner without losing quality. Upscaling requires adding pixels that don't exist, leading to a blurry "painted" effect. Always size down, not up.
- Ignoring the Output Size: While the visual quality might look good, if you resize a large PNG to be smaller but don't compress it, the file size might still be huge. Use the tool to find a balance between dimensions and KB/MB size.
- Using Built-in Paint Tools: The basic "Resize" function in Microsoft Paint or Preview on Mac is often too simplistic. They strip data aggressively. For high-quality results, you need a dedicated tool like Resize Without Losing Quality.
Comparison with Other Methods
You might be wondering how this approach stacks up against other common methods. Here is a quick breakdown based on my personal testing:
- Adobe Photoshop: The industry standard, but it comes with a steep monthly cost and a complex learning curve. It is overkill if you just need to quickly resize images without losing quality online free.
- Free Offline Software (GIMP): GIMP is powerful but requires installation and has a clunky interface. It is great for heavy editing, but slow for quick resizing tasks.
- Basic Online Converters: Many free online converters are riddled with ads, have strict file size limits, and often apply a noticeable amount of compression that ruins sharpness.
- Resize Without Losing Quality: Offers the perfect middle ground—professional results without the complexity, cost, or software installation.
Frequently Asked Questions
1. Can I really resize images without losing quality online for free?
Yes, absolutely. By using a tool that utilizes smart scaling algorithms rather than basic pixel removal, you can reduce dimensions and file size while maintaining visual sharpness.
2. What is the maximum file size I can upload?
Most high-quality free tools, including Resize Without Losing Quality, support standard image sizes up to 50MB or more, which is sufficient for high-resolution photos from modern cameras and smartphones.
3. Will resizing an image make it load faster on my website?
Yes. Resizing an image to the exact dimensions needed (e.g., 1200px width for a blog post instead of 4000px) significantly reduces the file size, which drastically improves page load speed and user experience.
4. How do I resize an image for Instagram without cropping it?
You need to resize the canvas to a 1:1 aspect ratio (1080x1080 pixels) or a portrait ratio (1080x1350 pixels). Use the resizing tool to add a background or fit the image within those dimensions without stretching the subject.
5. What is the difference between resizing and compressing?
Resizing changes the dimensions (width and height) of the image. Compressing reduces the file size by optimizing the data within the image. However, when you resize intelligently, you often achieve compression as a side effect.
6. Is it safe to upload my images to online tools?
It is safe if you use a reputable service. Resize Without Losing Quality prioritizes user privacy and typically processes images temporarily without storing them permanently on servers.
7. Can I resize a WebP image?
Yes, modern online resizers fully support WebP, which is Google's recommended format for web images due to its high quality and low file size.
8. What does "maintain aspect ratio" mean?
It means the proportional relationship between the width and height of your image stays locked. If you change the width, the height changes automatically to prevent your image from looking squashed or stretched.
Conclusion
Mastering the skill of how to resize images without losing quality online free is no longer just a nice-to-have; it is a necessity for anyone creating content in 2026. From boosting your website's SEO through faster load times to ensuring your social media presence looks polished and professional, the benefits are undeniable.
You don't need to waste hours watching Photoshop tutorials or settle for blurry, low-res visuals. The solution is simple, fast, and completely free. By following the step-by-step guide and best practices outlined above, you can take full control of your visuals.
Ready to make your images look their absolute best? Stop struggling with complex software and try the tool I use every day. Visit Resize Without Losing Quality now and upload your first image. You will be amazed at how sharp and clear your photos look in just a few clicks.