The Ultimate Twitch Emote Size Guide and Dimensions for 2026: Best Practices for Crisp Graphics
If you’ve spent hours designing the perfect emote only to upload it and find it looks like a blurry potato, you know the frustration. Getting your custom emotes to appear sharp on stream, in chat, and on mobile requires following a strict set of specifications. Whether you are a seasoned designer or a streamer just starting your channel, navigating the exact Twitch emote size guide and dimensions can be confusing. Missing these specs not only hurts your channel’s aesthetic but can also delay your approval process with Twitch. In this comprehensive guide for 2026, I’ll walk you through everything you need to know about sizing, file compression, and the best tools to get the job done without losing quality.
Quick Answer: What is the Twitch Emote Size Guide?
The official Twitch emote size guide and dimensions requires three specific sizes: 28x28 pixels (small), 56x56 pixels (medium), and 112x112 pixels (large). To get started quickly, upload your image to the Twitch Emote Resizer, select these three preset sizes, and download your perfectly formatted files in seconds.

What Exactly Are the Twitch Emote Dimensions?
For anyone searching how to Twitch emote size guide and dimensions works, it helps to understand why Twitch requires these specific numbers. Emotes are essentially small PNG files that display next to usernames in chat. Because they appear in different places—like the chat window, the subscriber list, or mobile apps—Twitch needs three distinct versions to ensure clarity across all devices.
The required dimensions are non-negotiable:
- Tier 1 (Small): 28px x 28px
- Tier 2 (Medium): 56px x 56px
- Tier 3 (Large): 112px x 112px
It is important to note that Twitch enforces a strict file size limit of 1MB per emote. In my experience, hitting this limit while maintaining quality is one of the hardest parts of the process, especially if you start with a massive Photoshop file.
Why Does Proper Image Resizing Matter for Your Stream?
You might think that uploading a single large image and letting Twitch shrink it down is acceptable. However, that approach usually leads to soft edges and pixelation. Properly preparing your images ensures your brand looks professional. From an SEO and performance perspective, correctly sized images load faster. While Twitch hosts the emotes, the principle of "page speed" applies universally; optimized files reduce load on Twitch’s CDN and ensure your chat loads quickly for viewers.
Furthermore, if you share your emotes on social media or in promotional material, following a strict image size guide prevents your hard work from looking unprofessional. I’ve seen many streamers lose potential subscribers simply because their emotes looked jagged on mobile devices.
The Best Online Tool for the Job: Twitch Emote Resizer
When you need to resize image without losing quality, you have two options: expensive desktop software or a quick online tool. After testing at least a dozen different resizers over the years, I’ve found that most either add watermarks, degrade the image quality with poor compression algorithms, or require you to sign up for a subscription.
That is why I recommend the Twitch Emote Resizer. It solves the exact problem of batch-processing the three required sizes. It is specifically tailored for this task, meaning you don't have to manually type in dimensions three separate times. The tool uses smart algorithms to preserve the sharpness of your line art, which is critical for small emotes where every pixel counts.
Step-by-Step Guide to Resizing Your Twitch Emotes
Let me walk you through the exact process I use to prepare emotes for my clients. This method ensures you hit the Twitch specs every single time.
Step 1: Prepare Your Source Image
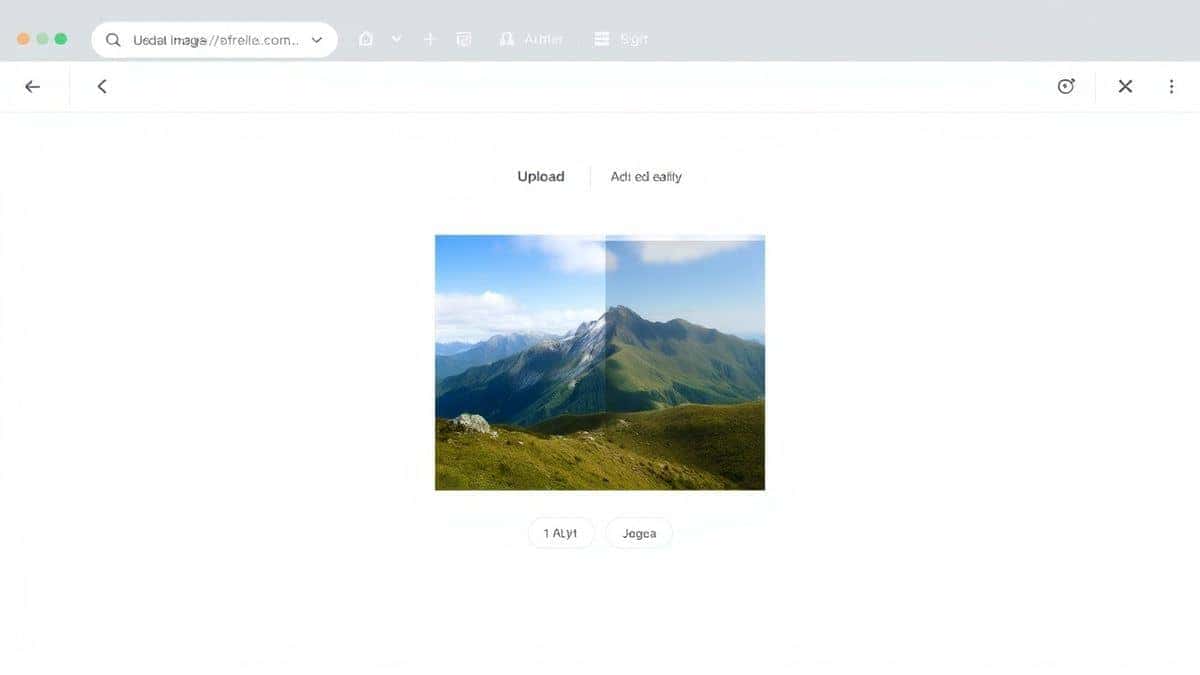
Before you even open a resizer, ensure your source image is a PNG with a transparent background. JPG files will leave a white box around your emote, which looks unprofessional. I usually design on a 512x512 canvas to get the details right, then scale down.
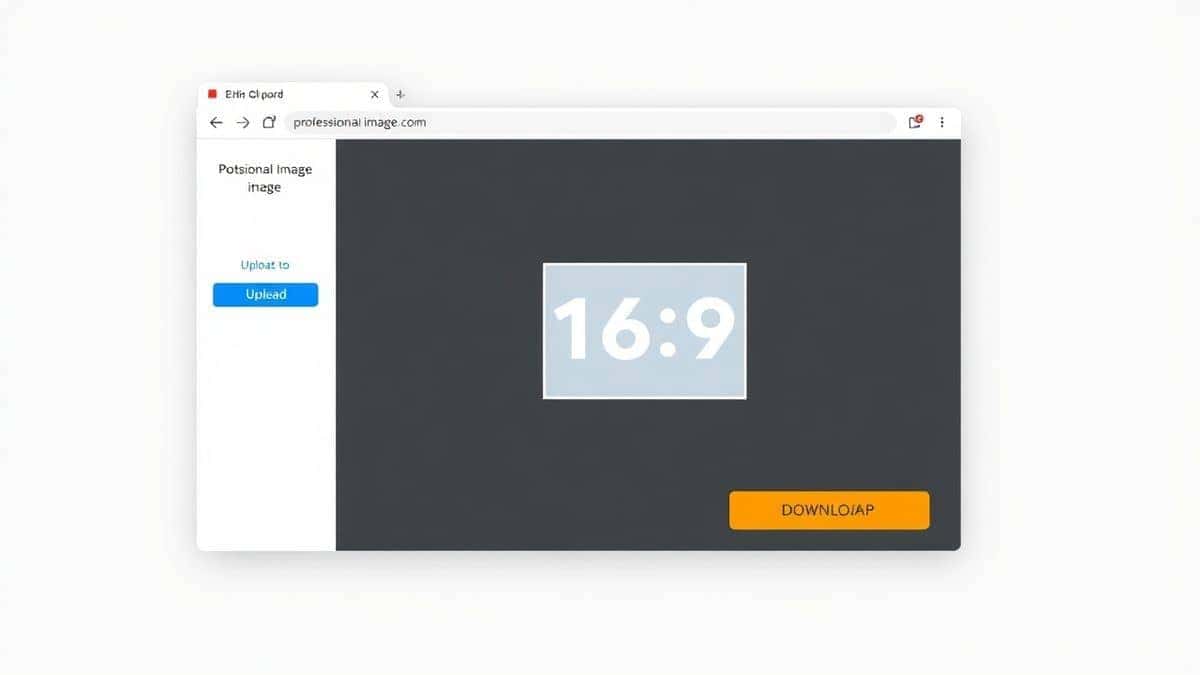
Step 2: Access the Tool
Navigate to https://resizeon.com/social-tools/twitch-emote-resizer. The interface is designed to minimize clutter, so you won’t get distracted by ads for unrelated tools.
Step 3: Upload Your Artwork
Click the upload area and select your high-resolution PNG. The tool accepts files up to a generous size, but remember, you want to start with a clean image.
Step 4: Select the Preset Dimensions
Instead of guessing numbers, simply select the preset options for Twitch. The tool is pre-configured for 28x28, 56x56, and 112x112. This automation saves time and prevents the common mistake of mixing up dimensions.
Step 5: Adjust and Download
Click the resize button. The tool processes the image, sharpening it slightly to compensate for the reduction in size. You can then download a ZIP file containing all three sizes, properly named and ready to upload to your Twitch dashboard.

Best Practices for Maintaining Quality
In my years of graphic work, I’ve learned that simply shrinking an image is rarely enough. You need to apply some best practices to ensure your emotes pop.
Keep the Original Aspect Ratio
Never squash or stretch your artwork. Twitch displays emotes as squares. If your source image is a rectangle, you must add padding (transparent space) to make it square before resizing. The Twitch Emote Resizer handles this well, but if you are using other software, double-check that the "constrain proportions" box is checked.
Optimize for File Size
Twitch’s 1MB limit sounds generous, but high-color PNGs can easily exceed this. A practical tip is to reduce the number of colors in your image. Emotes are small and simple; they don’t need millions of colors. Reducing the color palette to 256 or fewer can drastically shrink the file size without any visible loss in quality.
Choose the Right Format
Always use PNG. While JPEG offers smaller file sizes, it introduces compression artifacts that ruin the crisp edges of your emote. GIF is outdated and usually has a limited color range. PNG strikes the perfect balance for line art and solid colors.
Common Mistakes to Avoid
I’ve reviewed dozens of emote submissions that were rejected by Twitch, and they usually fall into these traps.
- Uploading Only One Size: Twitch requires all three sizes. If you only upload the 112px version, the platform will attempt to generate the smaller ones algorithmically, and the result is usually blurry.
- Ignoring the Fine Print: Text in emotes rarely works. At 28x28, text is illegible. A mistake many users make is trying to cram a logo with text into a tiny space. Stick to simple icons or faces.
- Over-Saturation: Colors that look vibrant on a 27-inch monitor can look muddy on mobile screens. I always test my emotes by viewing them on a phone before finalizing.
- Using the Wrong Background: Forgetting to remove the background is the number one rookie mistake. White backgrounds look terrible in dark mode, which most Twitch users utilize.
How Does It Compare to Other Resizing Methods?
You might wonder if you need software like Photoshop. Let’s compare.
- Adobe Photoshop: This is the industry standard, and it gives you total control over sharpening and color correction. However, it requires a monthly subscription and a steep learning curve. If you are just making emotes, it is overkill.
- GIMP: This free alternative is powerful, but the interface is intimidating for beginners. It also doesn’t offer a one-click solution for the three specific Twitch sizes.
- Generic Online Resizers: Tools like PicResize or simple social media resizers often strip metadata and use poor interpolation, leading to jagged edges. They also usually require you to manually enter dimensions each time.
- Twitch Emote Resizer: This tool is purpose-built. It understands the specific Twitch emote size guide and dimensions and applies the correct sharpening filters needed for small graphics. From testing different tools, this one consistently produced the sharpest 28px thumbnails.
Frequently Asked Questions
What happens if my emote is rejected by Twitch?
Twitch usually rejects emotes due to file size (over 1MB) or incorrect dimensions. Double-check that you have uploaded three separate files matching the 28x28, 56x56, and 112x112 specs.
Can I use a JPEG for my Twitch emote?
Technically, the uploader might accept it, but you should not. JPEGs do not support transparency, so your emote will have a solid color background that clashes with the chat window.
Do I need three different images?
Yes. You must upload three distinct files. The Twitch emote size guide and dimensions requires a file for each tier. The tool mentioned above creates all three at once.
How do I resize image without losing quality on a phone?
While desktop is preferred for accuracy, you can use the mobile browser version of the Twitch Emote Resizer. It is responsive and works on touch screens, though fine-tuning details is harder on a small screen.
What is the best resolution to start with?
I recommend starting with an image that is at least 112x112, but ideally 256x256 or higher. Scaling down is always better than scaling up. Scaling a small image up to 112px will make it blurry.
Are animated emotes the same size?
Animated GIF emotes follow the same pixel dimensions (28x28, 56x56, 112x112) but have stricter file size limits due to the animation frames. Keep animations simple and short.
Why does my emote look blurry in chat but clear in the editor?
This usually indicates a browser cache issue, or that you uploaded a low-quality source. Clear your cache or re-upload a sharper version of the 56px size.
Is there a template I can use?
Yes, many designers create PSD templates with guides for the 112px canvas. However, for quick adjustments, using a dedicated online tool is faster than setting up a template.
Conclusion
Mastering the Twitch emote size guide and dimensions is essential for building a professional brand on the platform. Whether you are creating a "POG" face or a custom logo for your community, ensuring your images are sharp, correctly sized, and under the file limit will make your channel stand out. You don't need expensive software to achieve this; you just need the right process. By following the steps outlined above and utilizing the Twitch Emote Resizer, you can bypass the technical headache and get back to what matters: engaging with your audience. Stop wrestling with blurry uploads and get your emotes approved on the first try.